- Shop
- Why Fuego?
- Brochure
- Uses
Wood fire cooking is different from traditional cooking and curing is an important part of how to use a pizza oven. Follow this guide when your oven is new or if it becomes wet. Always cure your oven with the door and flue open.
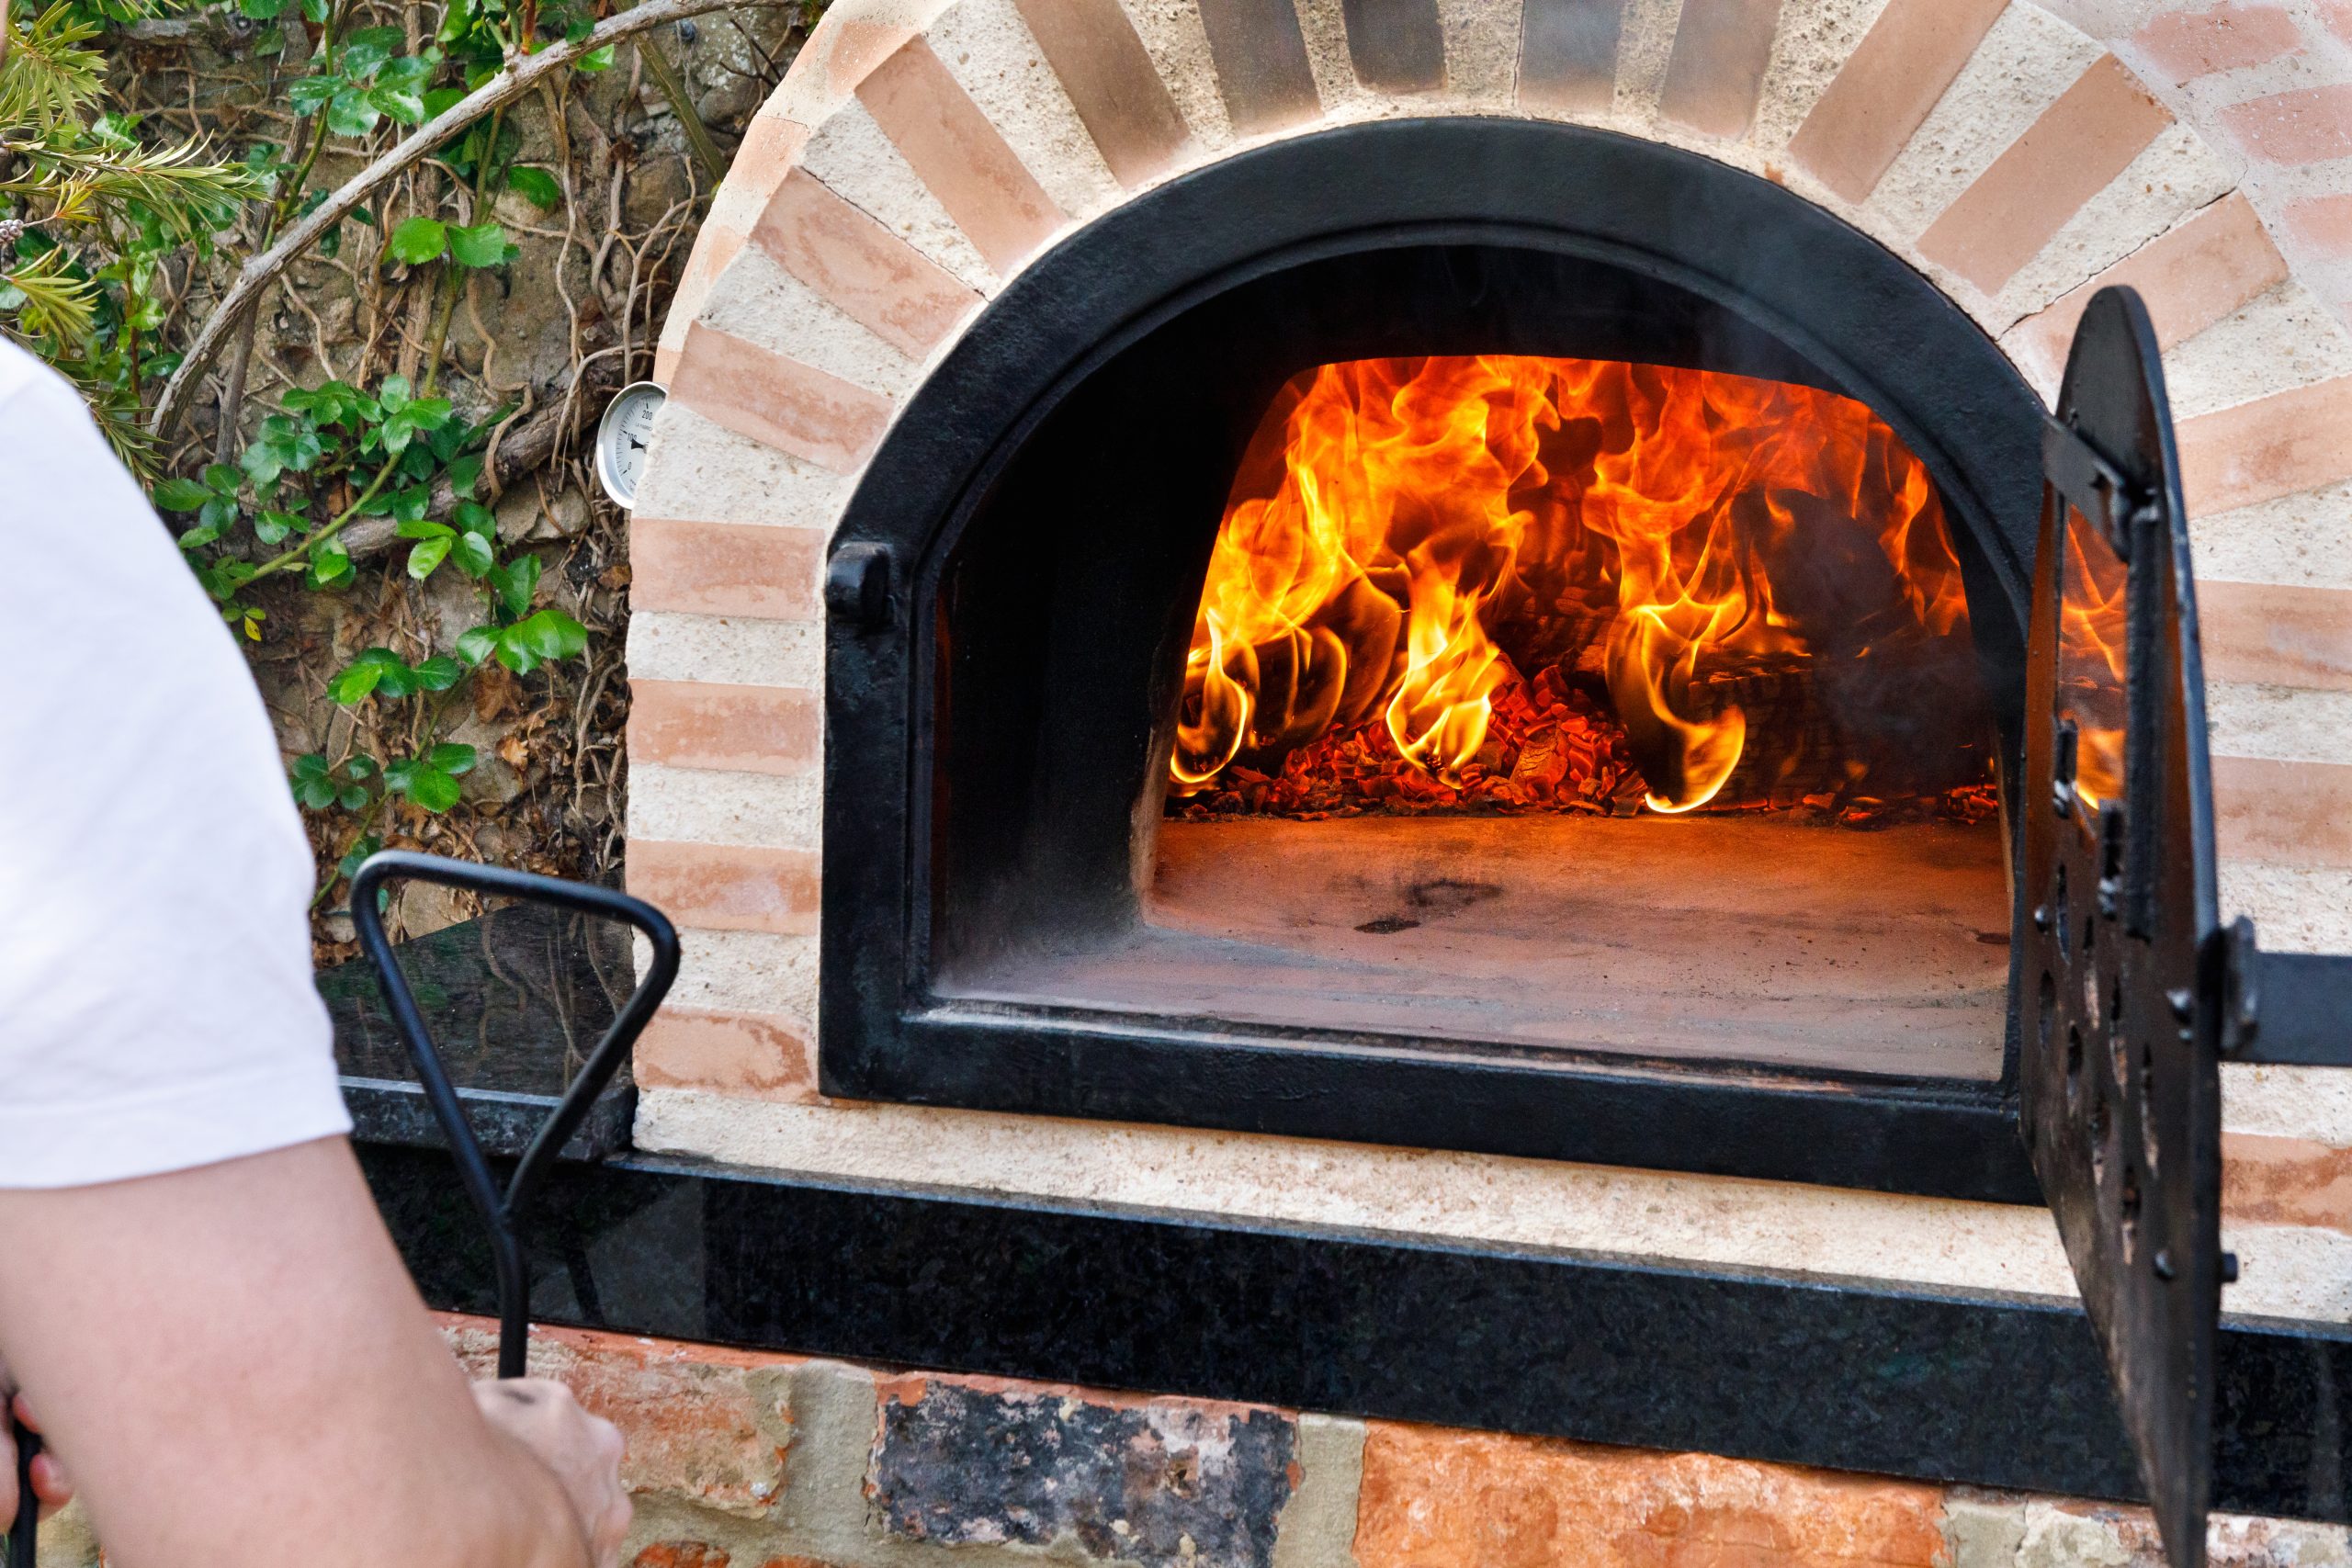
Your oven is made from heat-resistant clay, but the water used to form the clay must be cooked out before your oven can be put into use. This process is called curing.
The first step involves drying the water out of the clay and the second is tempering the clay. This is achieved by lighting several small fires inside the oven, over a period of two days, gradually increasing the pizza oven temperature.
Want to know how to light firewood safely and easily? Do not use standard white firelighters as they contain chemicals that may get into the wood fired pizza oven floor and affect the flavour of your food. Never use lighter fluid to start or refresh a fire.
Kiln dried kindling wood is the ideal wood to fire up the oven. Make sure it’s extremely dry and of the highest calibre.
Such as oak, ash, beech, cherry, apple, pear, hawthorn, olive or kiln dried hardwood with a moisture content of less than 20%. Hardwood achieves the desired pizza oven temperature and produces less ash. Softwood has an unpleasant smell, and painted or treated wood can give off toxic fumes. Use smaller logs of approximate 30cm long and 4 to 6cm in diameter. The size of the logs is key to provide the oven with its optimum conditions for cooking.
We recommend a total of 4 hours of curing at a temperature of no more than 100°C on the first day.
On the second day, we recommend bringing the oven to a temperature of 100°C and holding it there for 2 hours.
You should then take it up to 200°C and hold it there for another 2 hours.
After that from 200°C to 300°C and hold it for a further 2 hours.
Your oven should then be brought up to 400°C and held there for 30 minutes before finally taking it from 400°C to 500°C and holding it there for a final 30 minutes.
PLEASE ENSURE YOUR DOOR AND FLUE ARE OPEN AT ALL TIMES DURING THE CURING PROCESS.
FAILURE TO DO SO CAN LEAD TO DAMAGE TO YOUR OVEN.
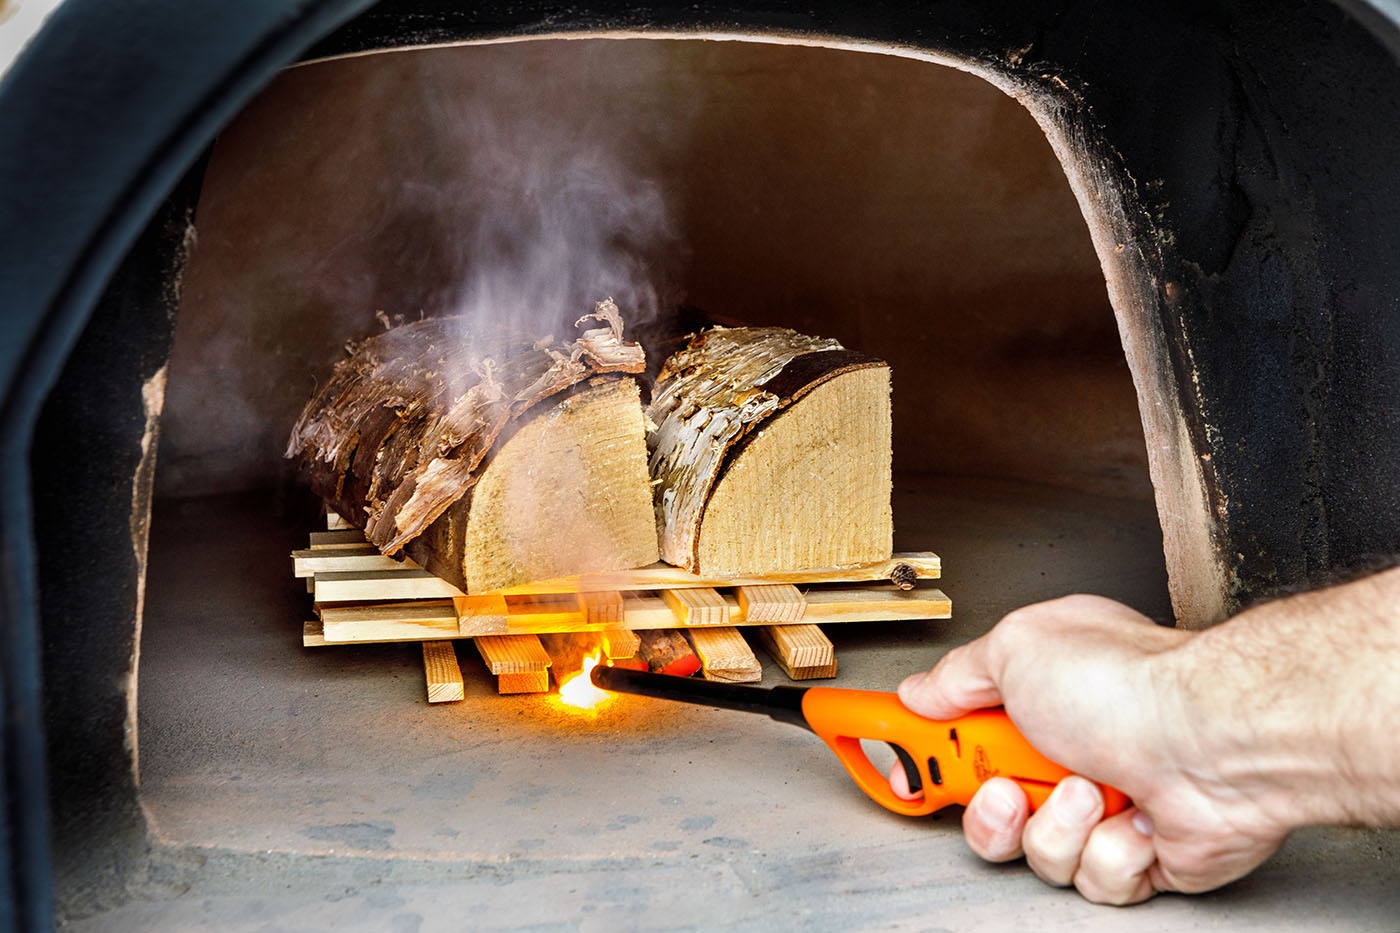
Open the flue (12 o’clock position) and door.
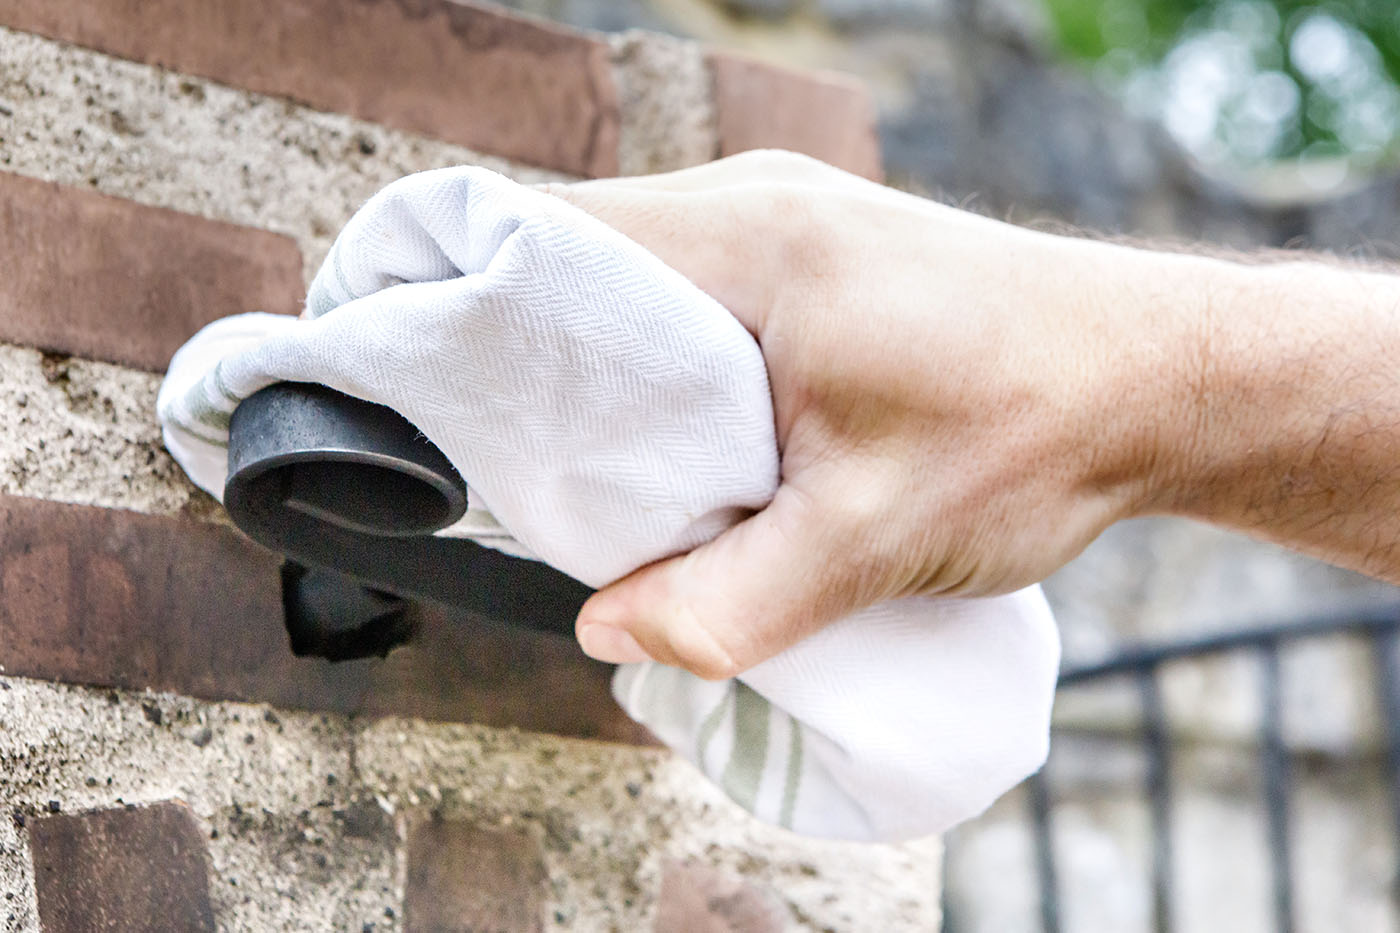
Place a firelighter in the centre of the oven floor.

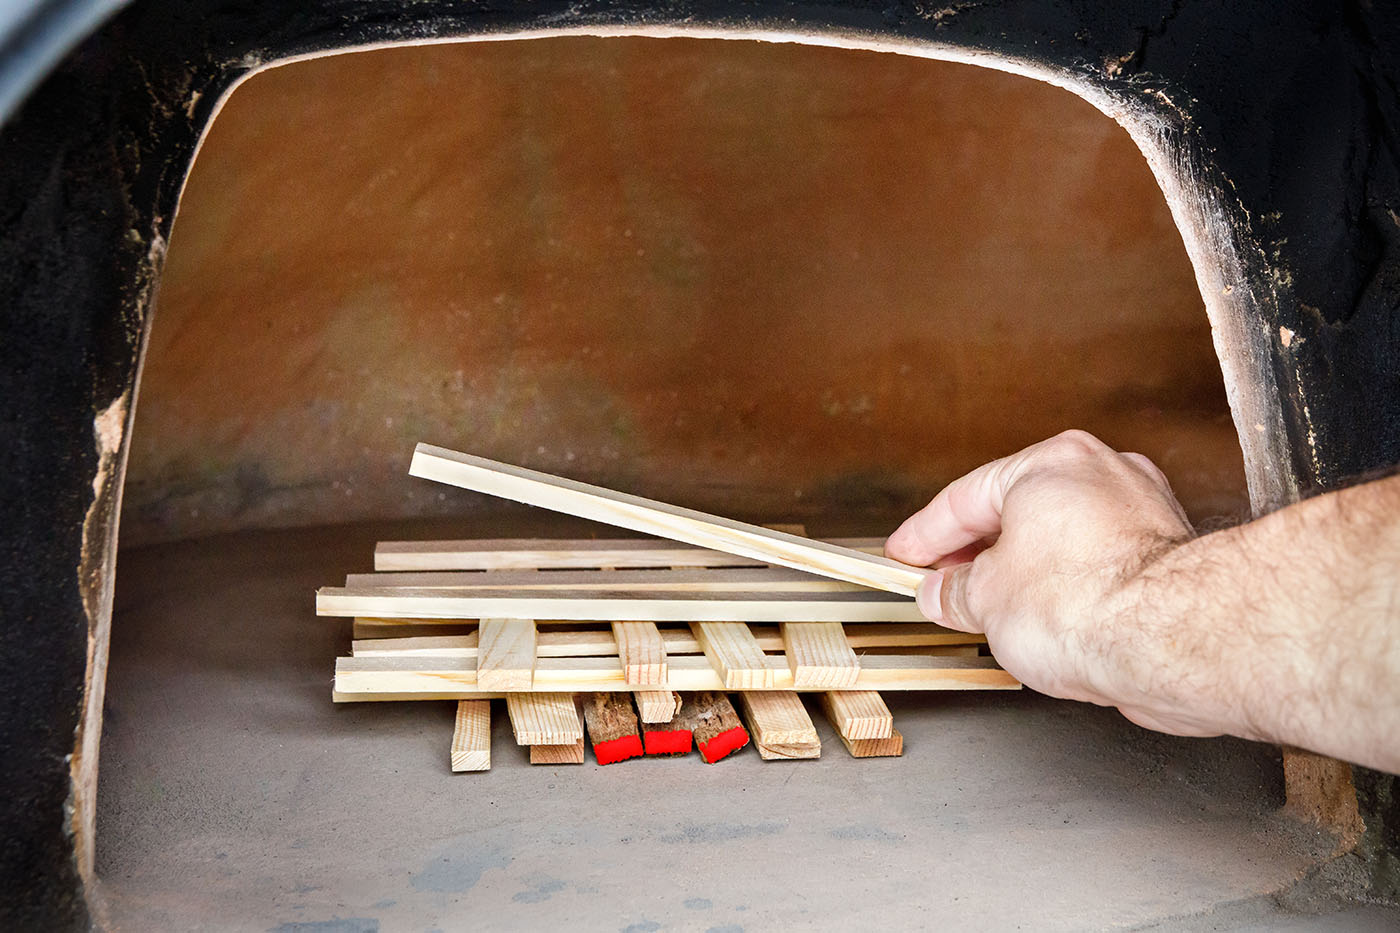
Stack small pieces of kindling around it to form a Jenga-style tower that is five or six rows high (see image).
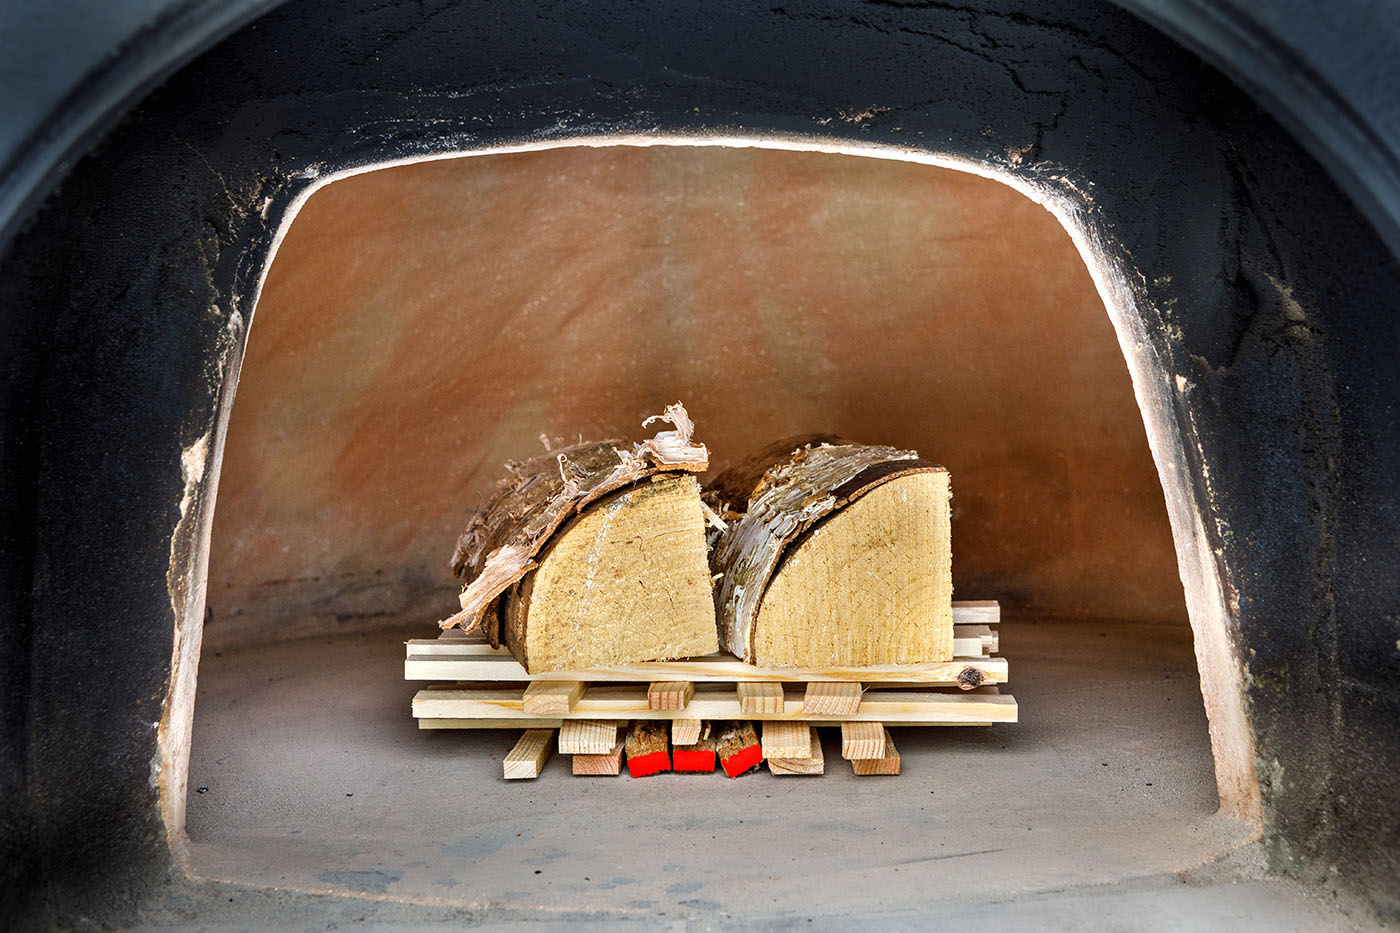
Place two small hardwood logs on top of the tower.
Light the fire.
The curing fire should be kept alight for 4 hours at a maximum temperature of 100°C on the first day and then on the second day it should be slowly brought up in 100°C increments up to 500°C.
Please see the instructions at the top of the page or your operating manual for further detail.
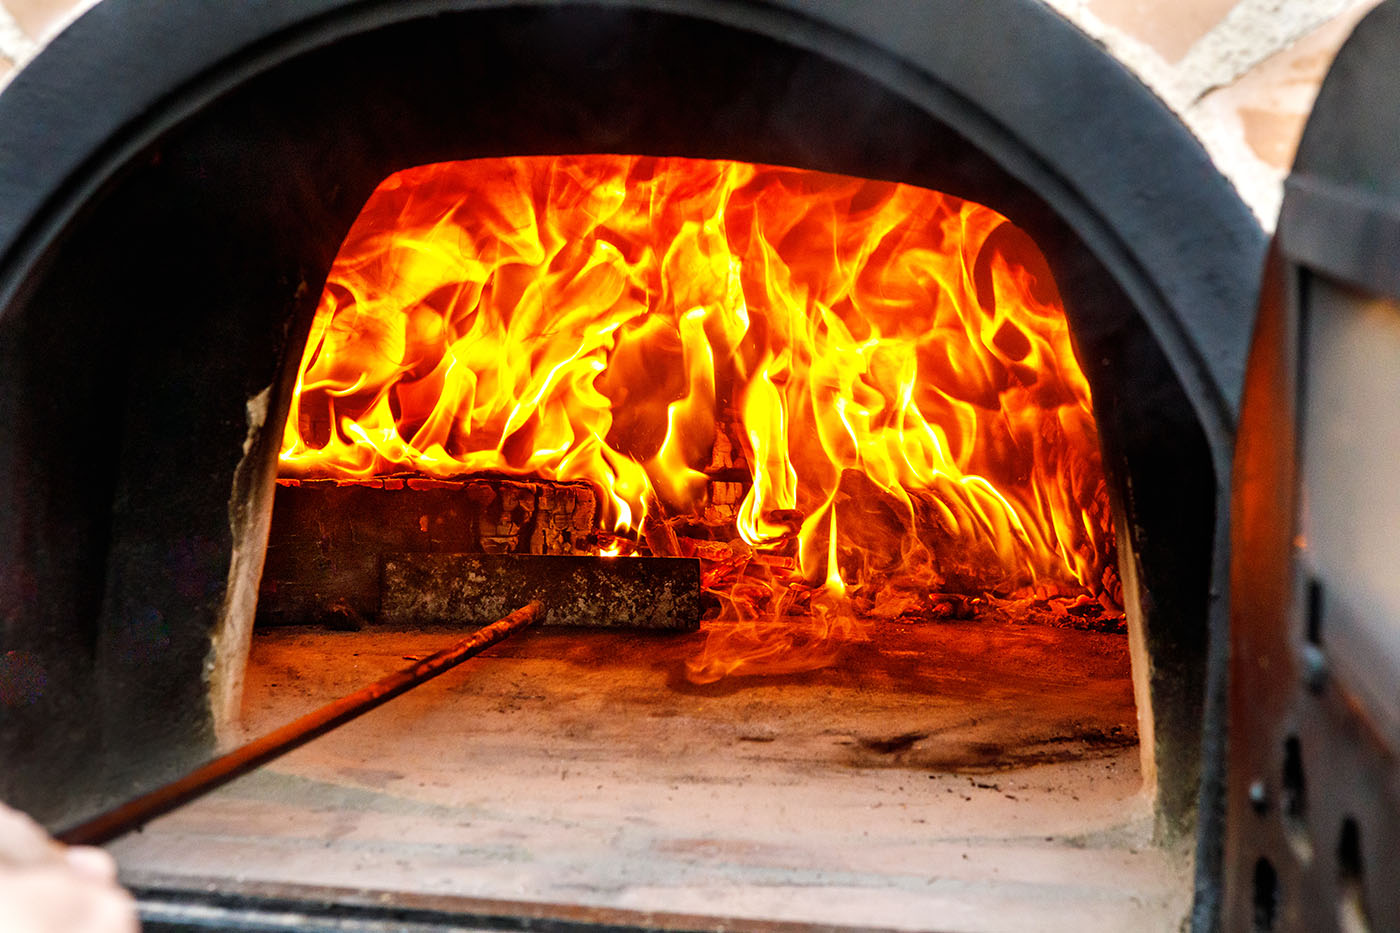
You will only need to cure your oven when new.
If, however the oven hasn’t been used for a long period or has become wet, it is advisable to start with a smaller fire to a temperature of 100°C for 4 hours beforehand to warm up the oven before slowly establishing a large hot fire.
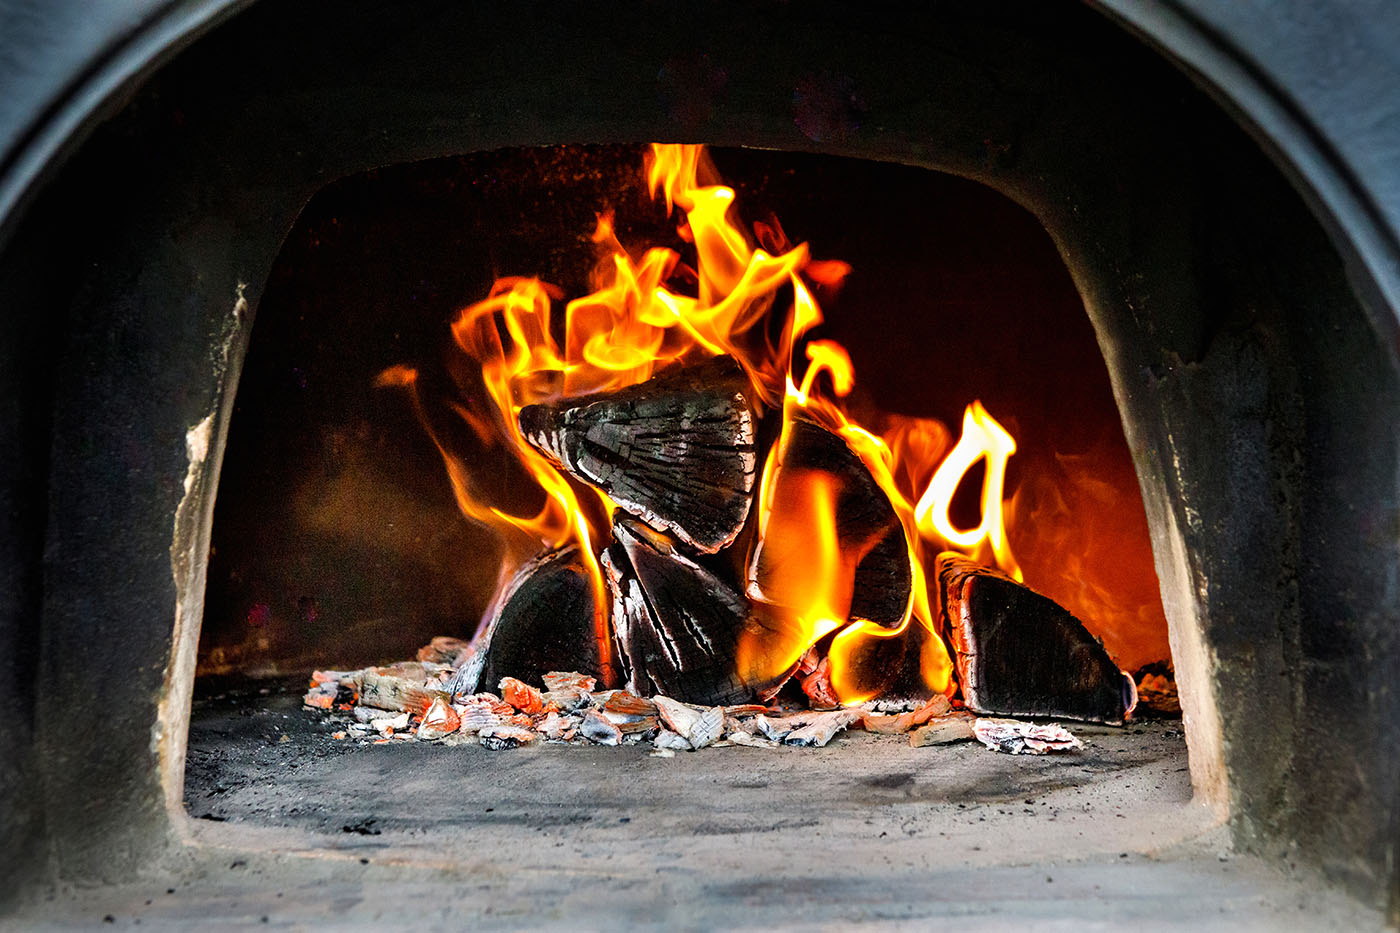
IMPORTANT ADVICE
Heating a wood-fired oven will create small natural cracks and dilatations to appear on the exterior and sometimes in the interior of the oven, particularly on the exterior brick joints.
This is a completely normal and natural process due to the thermal dilatation of structures and does not affect the normal functioning of the oven. These natural cracks and dilatations can be seen in many structures such as buildings, bridges or chimneys.
This is why we recommend that you cure your oven in order to progressively heat the interior and exterior of the oven so the joints and structures adapt better to the changes in temperature and for any humidity to disappear before use.
It is also not advisable to overheat your oven. Prolonged large flames could accentuate the number of cracks appearing on the oven exterior and interior and damage the front brickwork of your oven.