Heating a wood-fired oven will create small natural cracks and dilatations to appear on the exterior and sometimes in the interior of the oven, particularly on the exterior grout joints and dome.
This is a completely normal and natural process due to the thermal dilatation of structures and does not affect the normal functioning of the oven. These natural cracks and dilatations can be seen in many structures such as buildings, bridges or chimneys.
Ensuring that you cure your oven when its new or if the oven has not been used for a while or if it’s damp, is the correct way to progressively heat the interior and exterior of the oven, so the joints and structures adapt better to the changes in temperature and for any humidity to disappear before use.
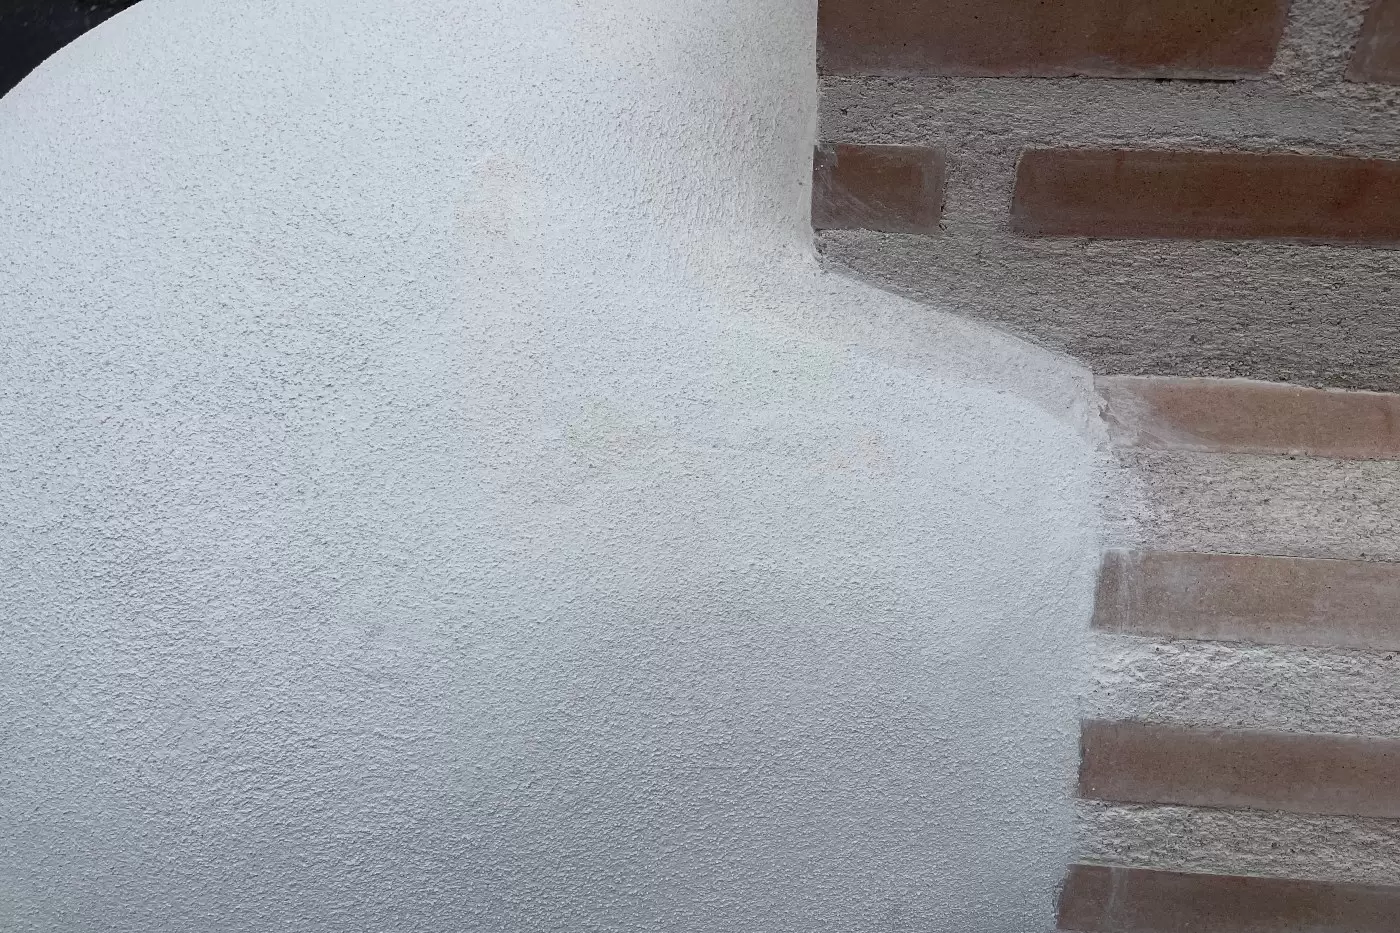
After the curing process has been completed, one of the most typical types of cracks that may appear, are fine hair line cracks between the grout joints on the chimney archway and dome of your Fuego wood-fired oven or on the dome render of our clasico models.
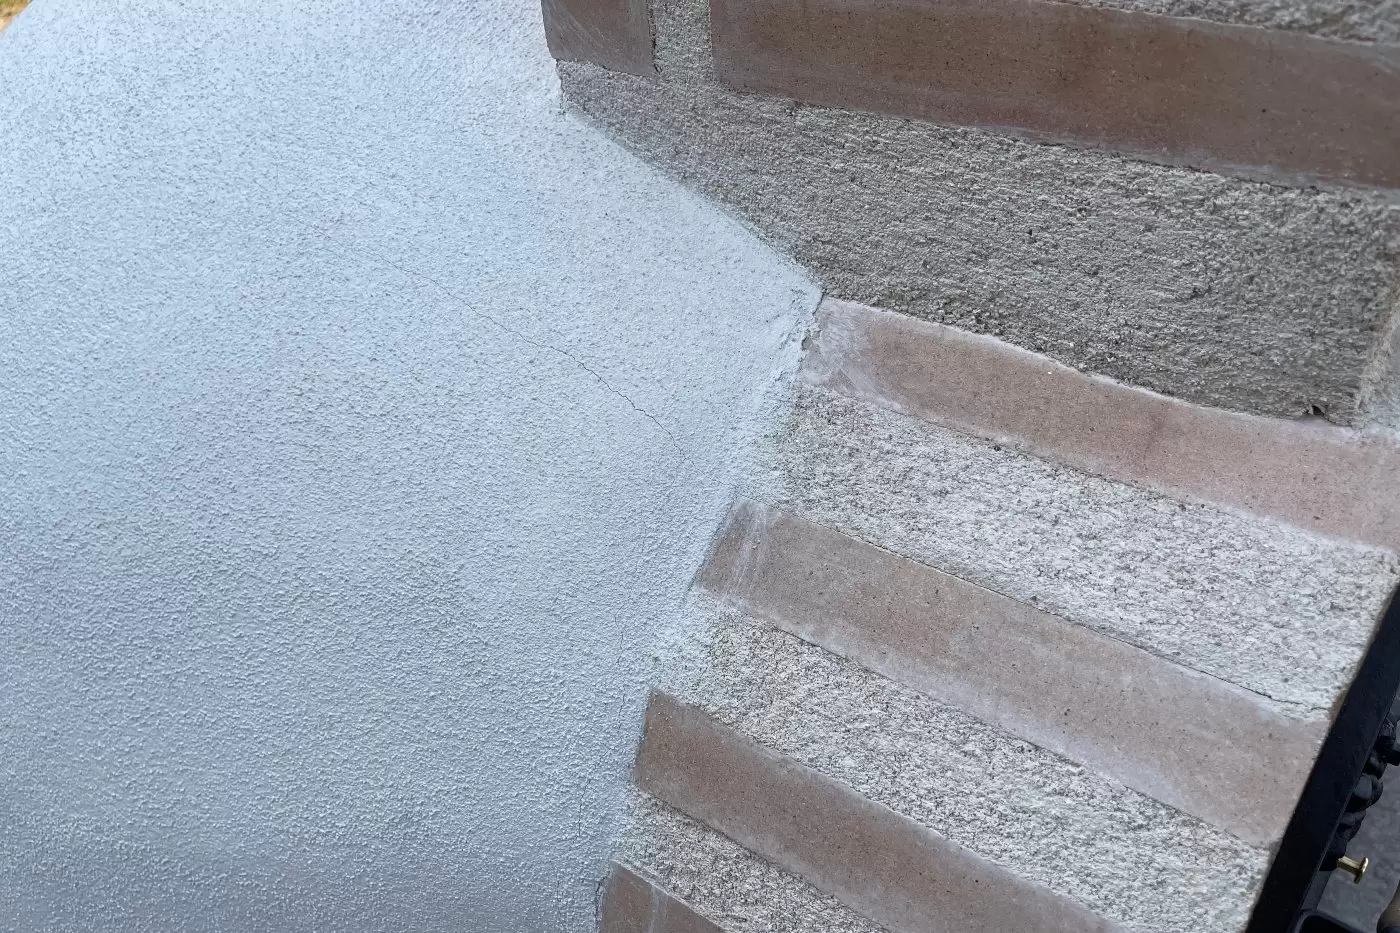
We must stress that these cracks are only cosmetic and will not impact on the performance of your oven. If you cannot live with the look of them, we always include with the purchase of all our wood-fired ovens a repair kit to be able to fill all dome and grout cracks, created on the outside of your oven.
Here’s our step-by-step guide on how to repair all cracks on the grout and/or dome of your Fuego wood-fired oven:
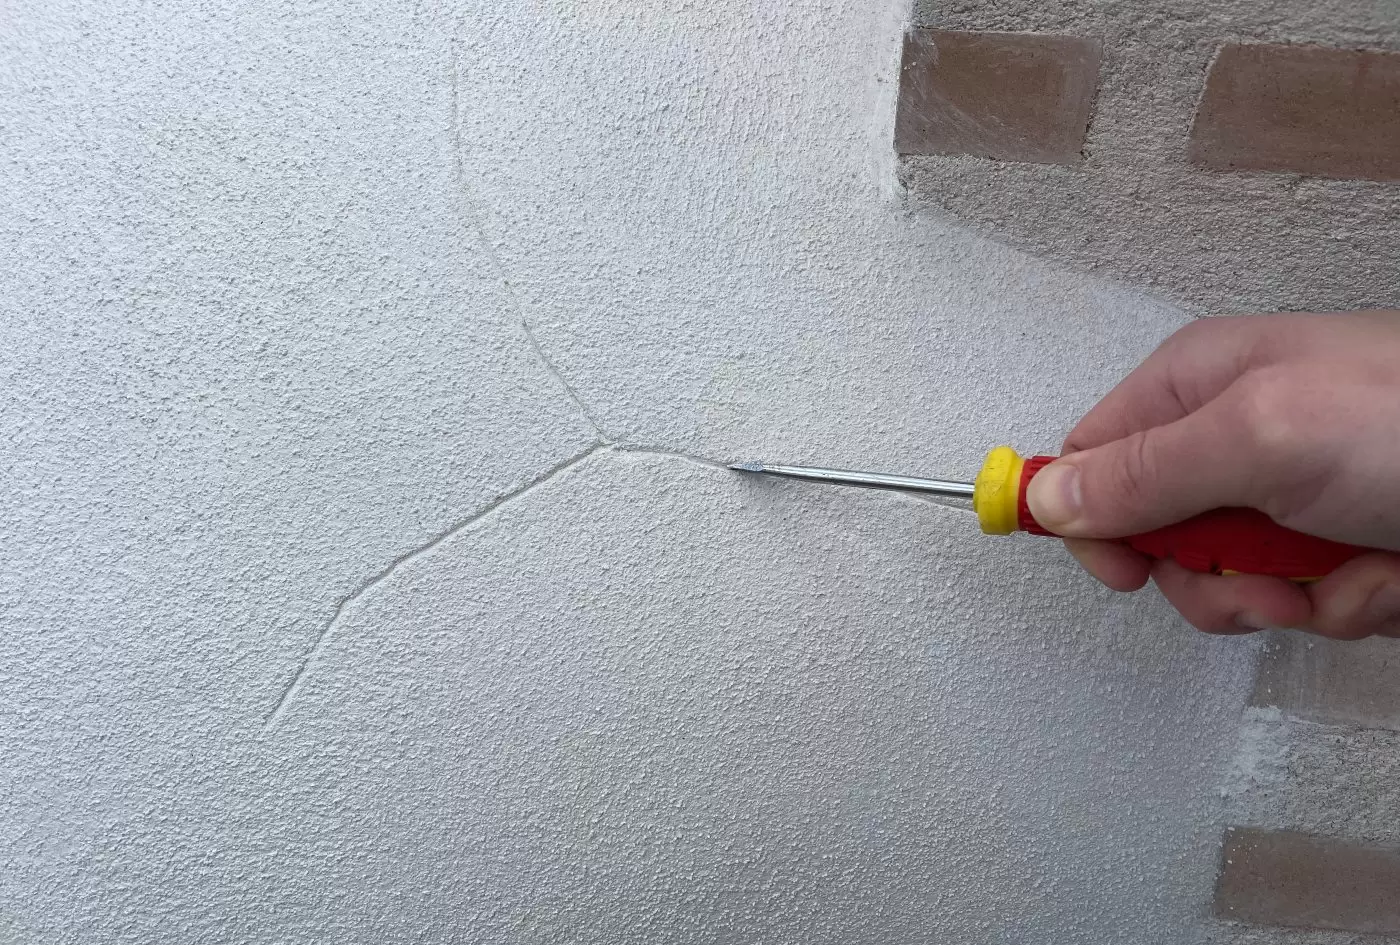
If it’s a hair line crack, start by opening the crack with the help of a screwdriver, until you have a crack wide enough to be able to fill it. For larger cracks on grout joints, ensure you remove any loose debris of render.
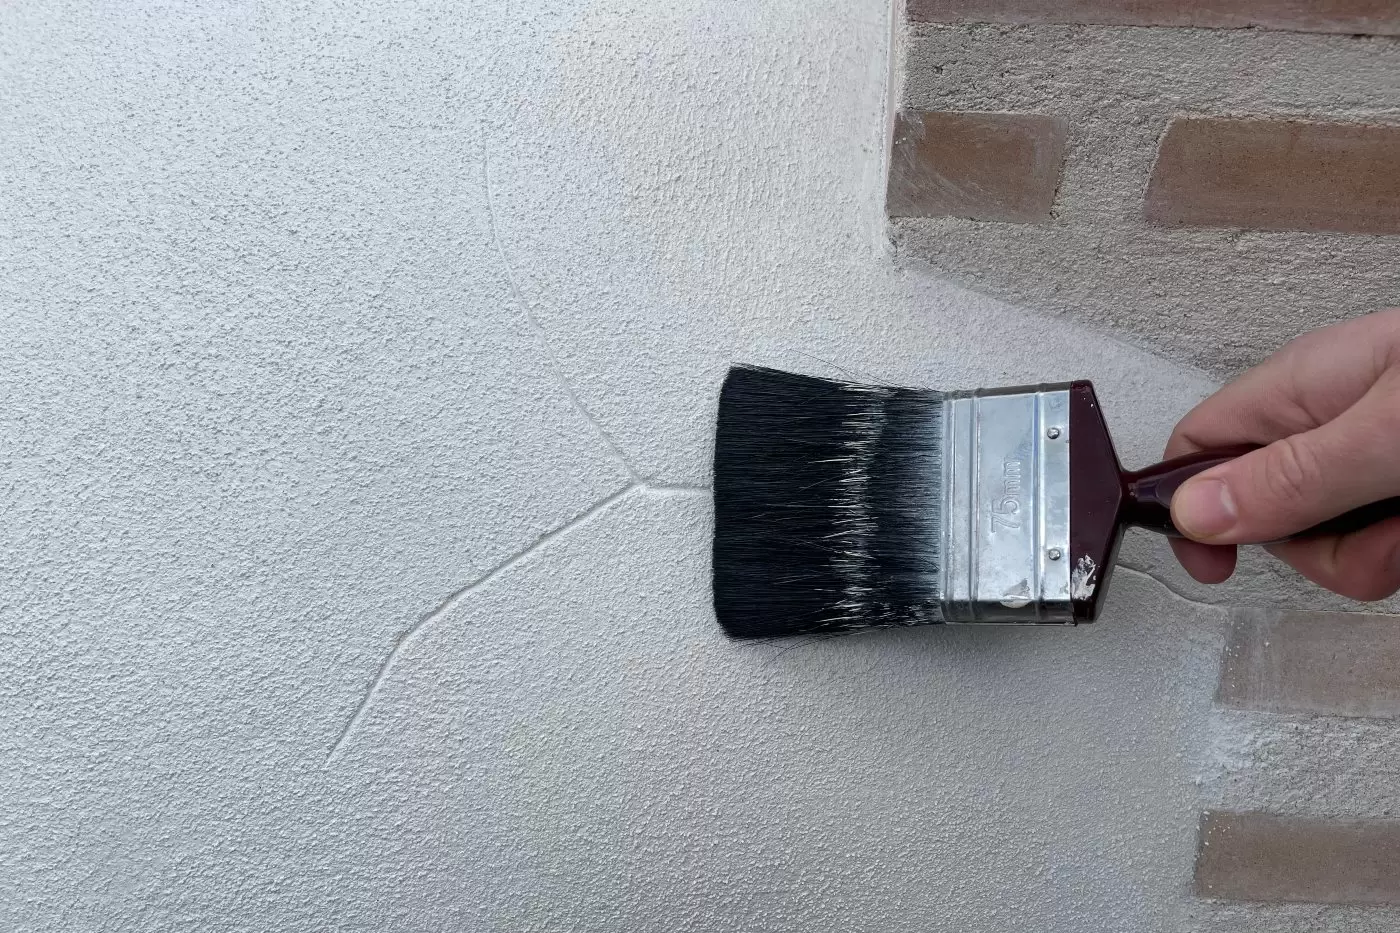
Brush or blow any excess of dust from the crack.
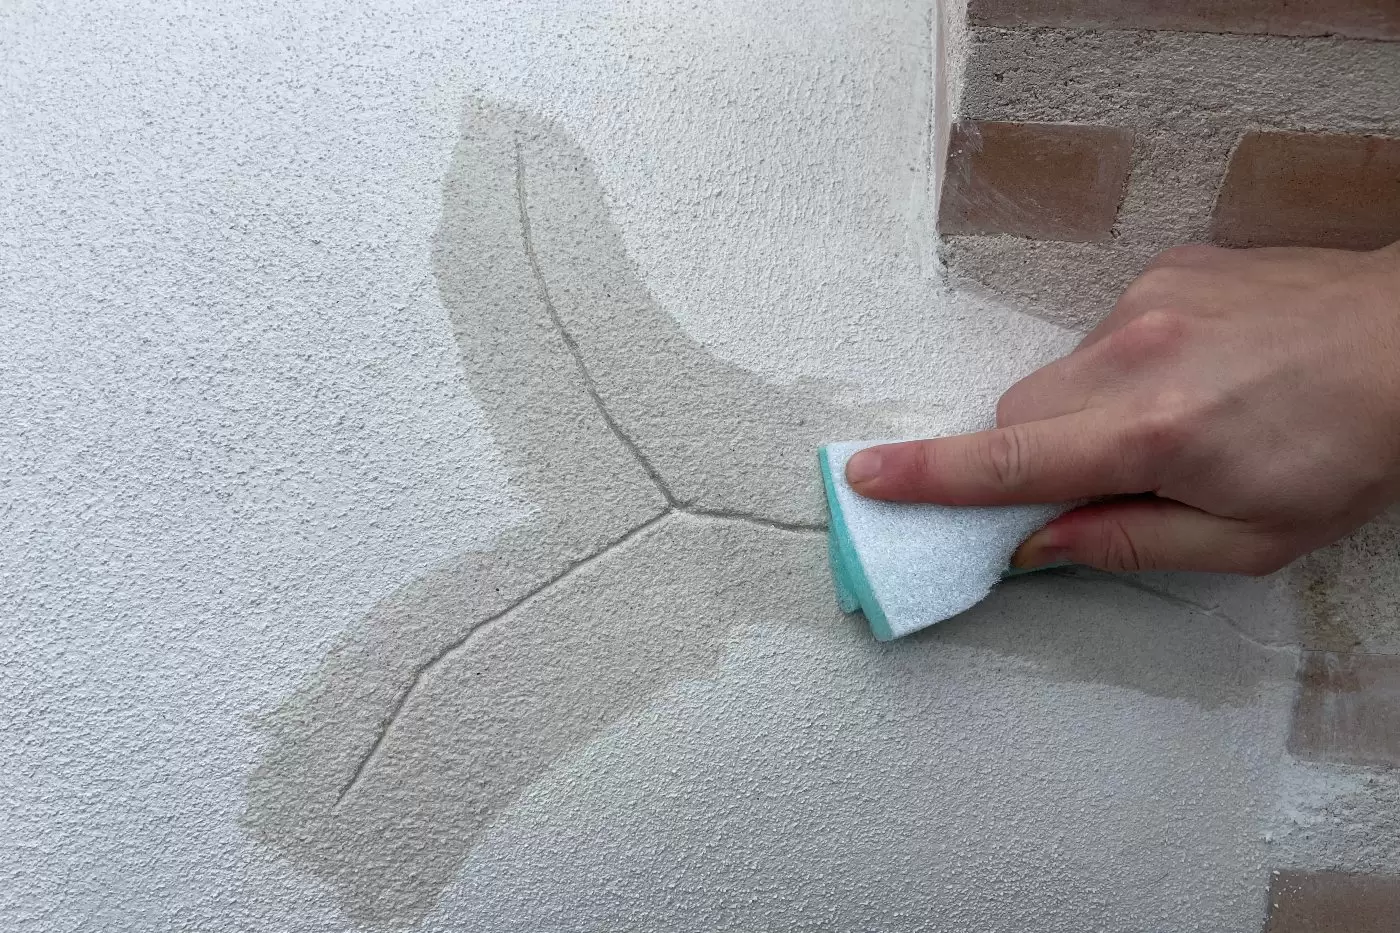
Wet the opened crack with a sponge to ensure the render mix sticks correctly.
In a plastic container, mix 100g of Fuego grout render mix or clasico dome render mix (for clasico models only) with 25ml of water (25%) and stir well until fully combined. Increase the mix quantity if you need to repair a larger number of cracks.
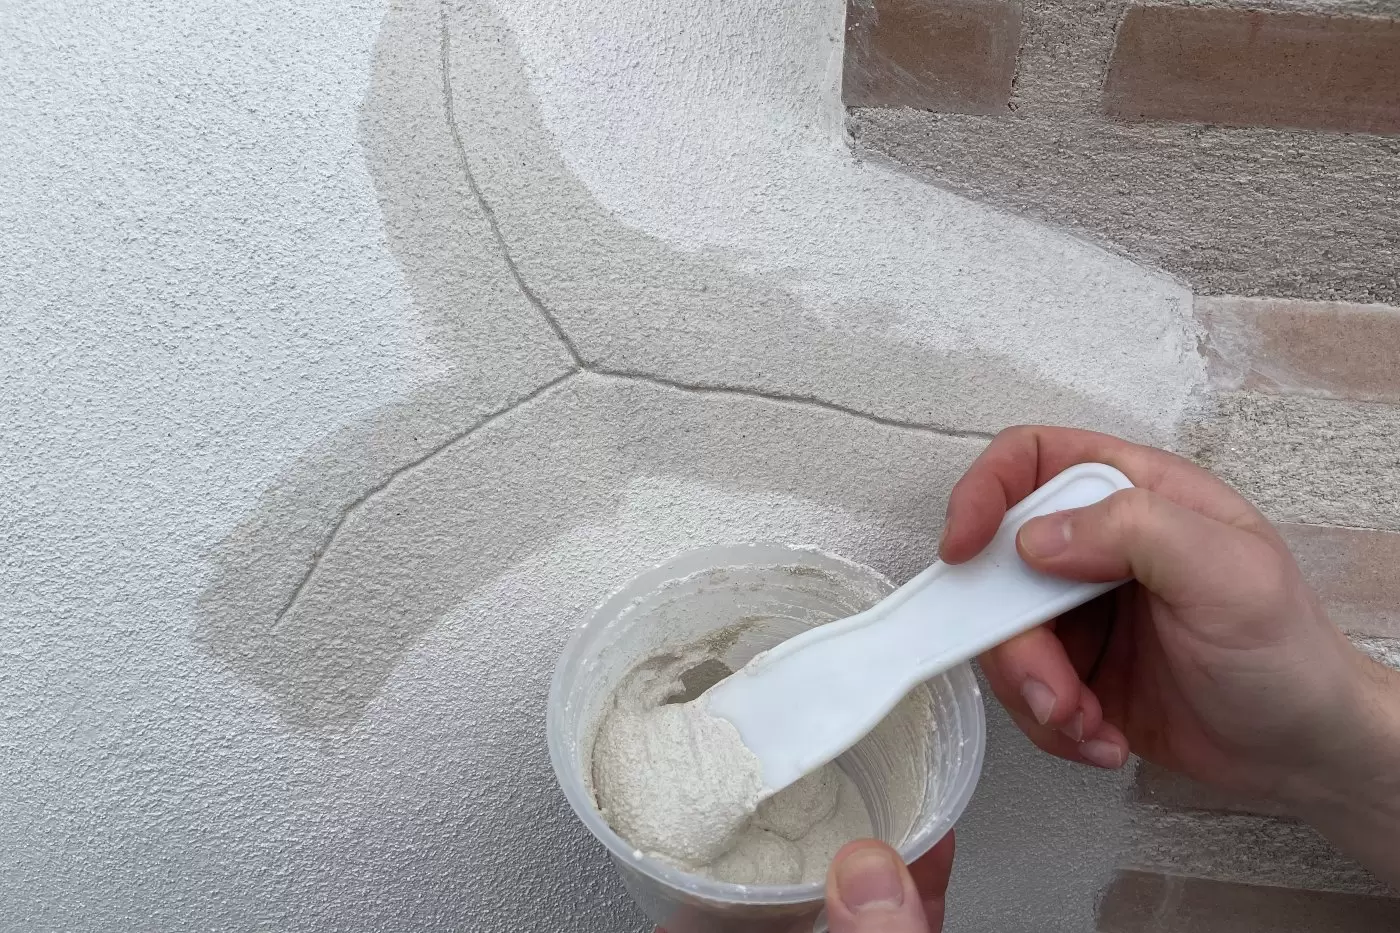
Using a spatula, fill the crack with the repair mix, ensuring you spread it evenly.
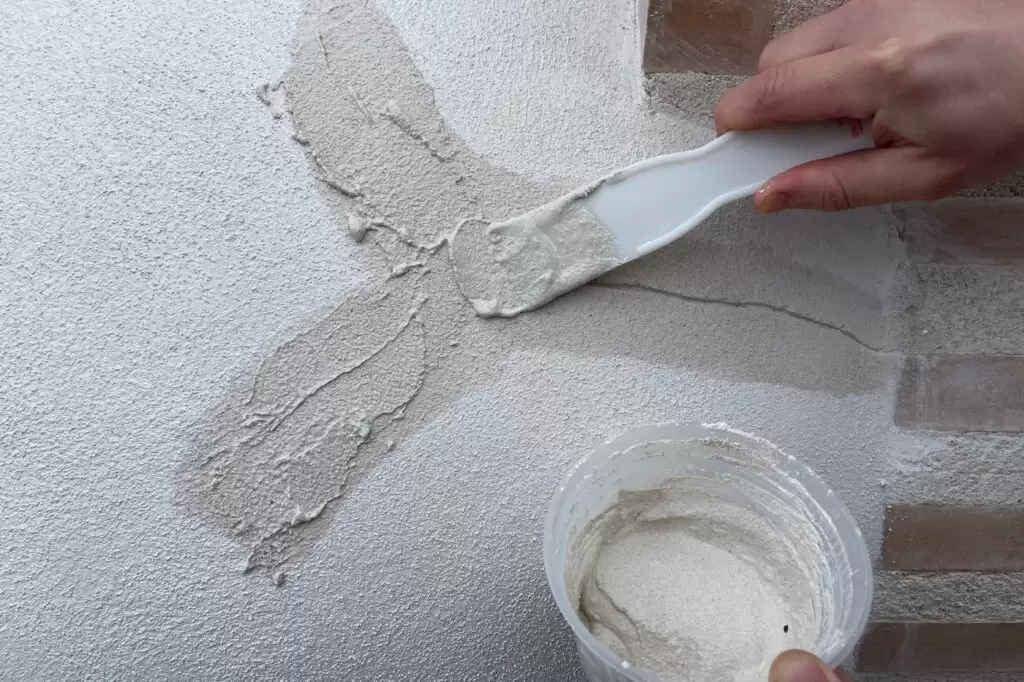
Allow to dry for 4 hours.
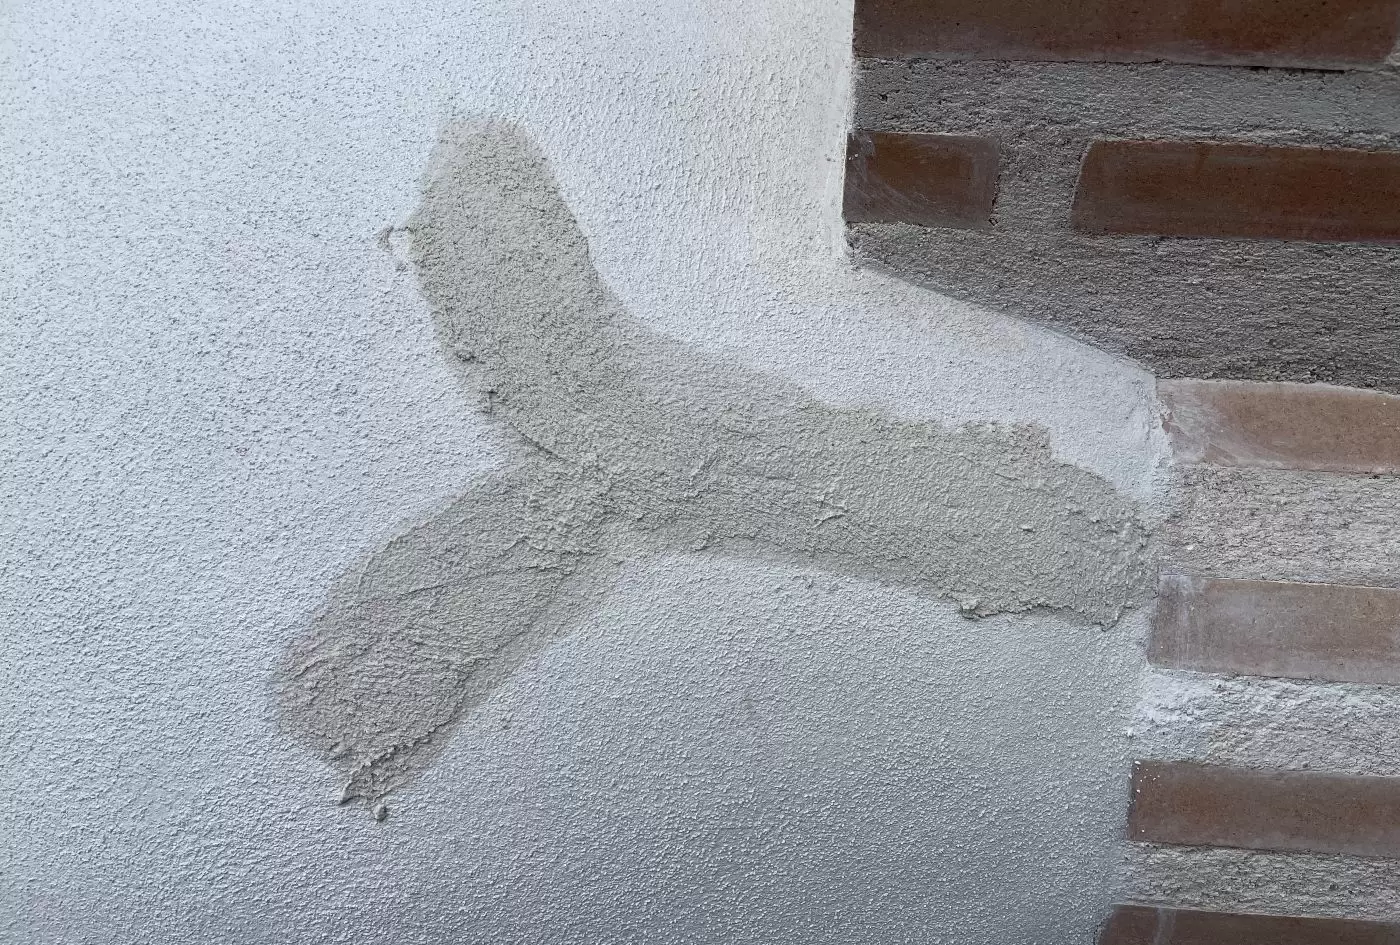
Once dry, rub the area with a damp sponge in circular movements until it blends with the rest of the dome or grout finish.
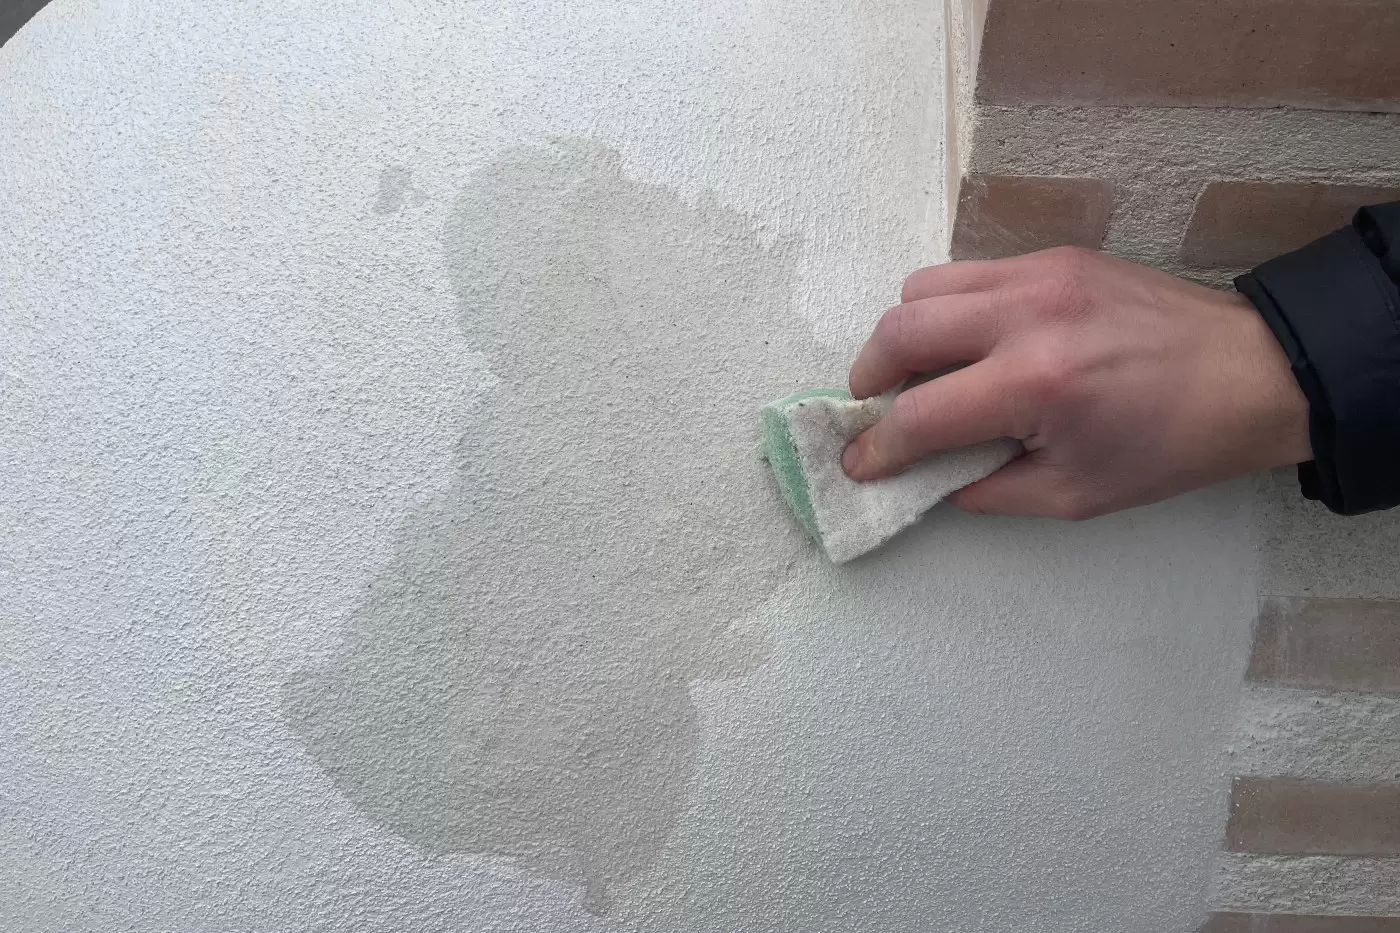
Repeat the process with any other cracks that may appear.
WARNING
Moisture is the worst enemy of a clay oven even though our ovens have been treated with a waterproof sealant. We recommend that once a year, you give the external dome of your oven a couple of coats of a clear waterproof sealant to prolong its waterproofing. Please note this only applies to our clasico and brick range of ovens.