Our outdoor wood burning ovens are significantly more fuel-efficient to use than any other pizza oven. The precise insulated clay dome means you can enjoy fuel savings of up to 60%. Good insulation is the key to obtaining an even temperature throughout the cooking area of the oven and not wasting heat to the outside.
We have a created a patented insulation system by moving away from the traditional insulation wool to SUPERWOOL® PLUS™ a 100% natural biosoluble fibre that is heat resistant up to 1200°C. All our ovens are manufactured with our standard insulation system that contains:
– 4 layers of refractory white fire clay
– 2 layers of 13mm SUPERWOOL® PLUS™ insulation fibre 128kg/m3
– 1 layer of refractory mortar
This totals 7 LAYERS OF INSULATION that are built on the oven before adding the desired oven finish.
Our new premium insulation is an optional extra that contains one additional layer of fibre and one additional layer of refractory mortar, totalling 9 LAYERS OF INSULATION for those clients that want maximum efficiency and heat retention.
Being economical has never been so much fun, so here’s our step-by-step guide on how we insulate all our Fuego wood-fired ovens:
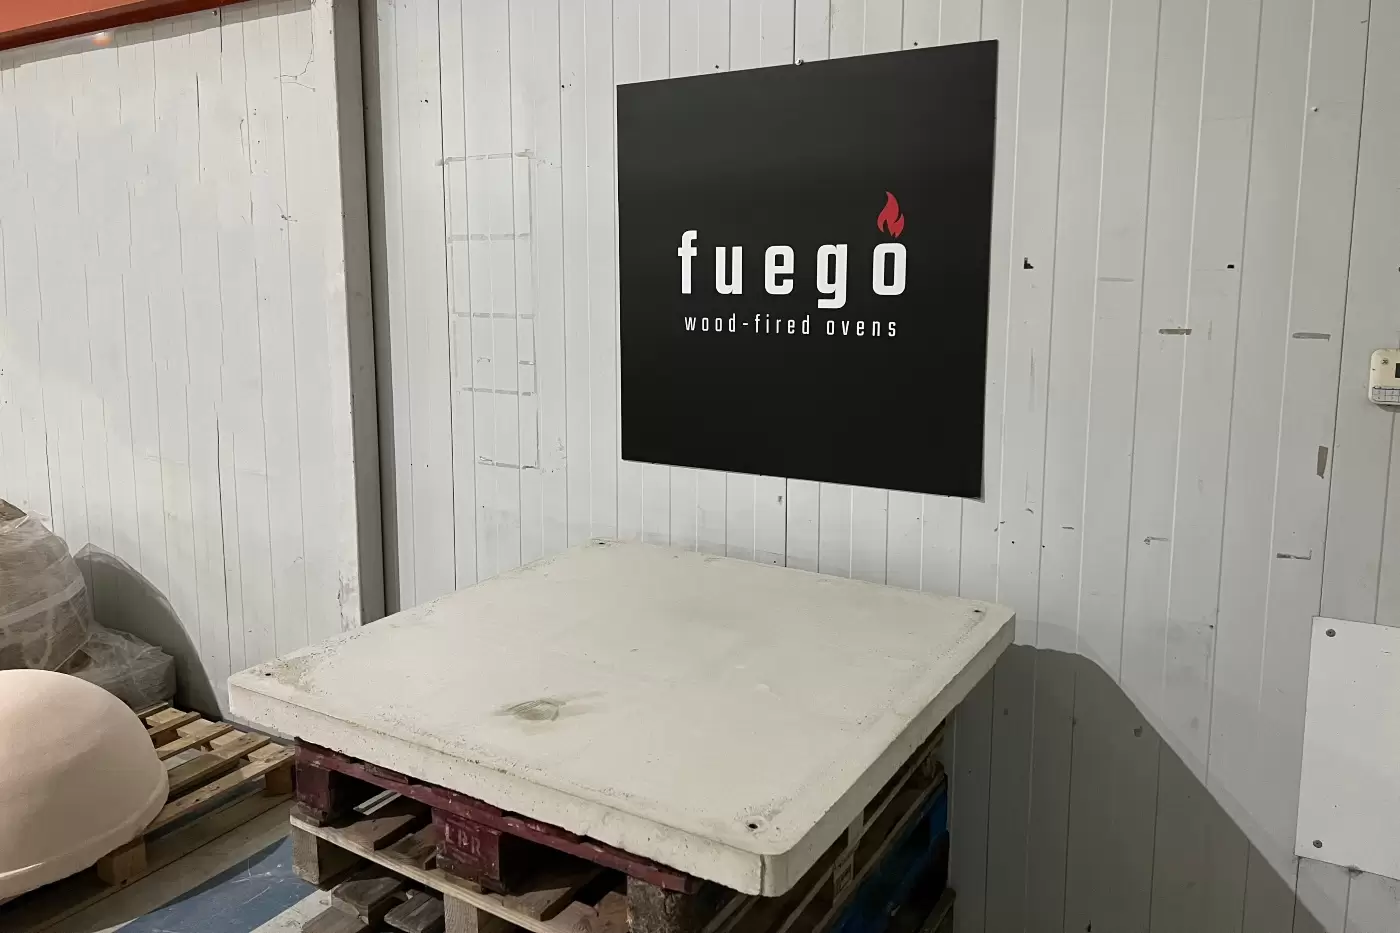
All our ovens are built on a fiber-reinforced concrete base, set in a steel frame structure with rounded corners and screwable eye bolts.
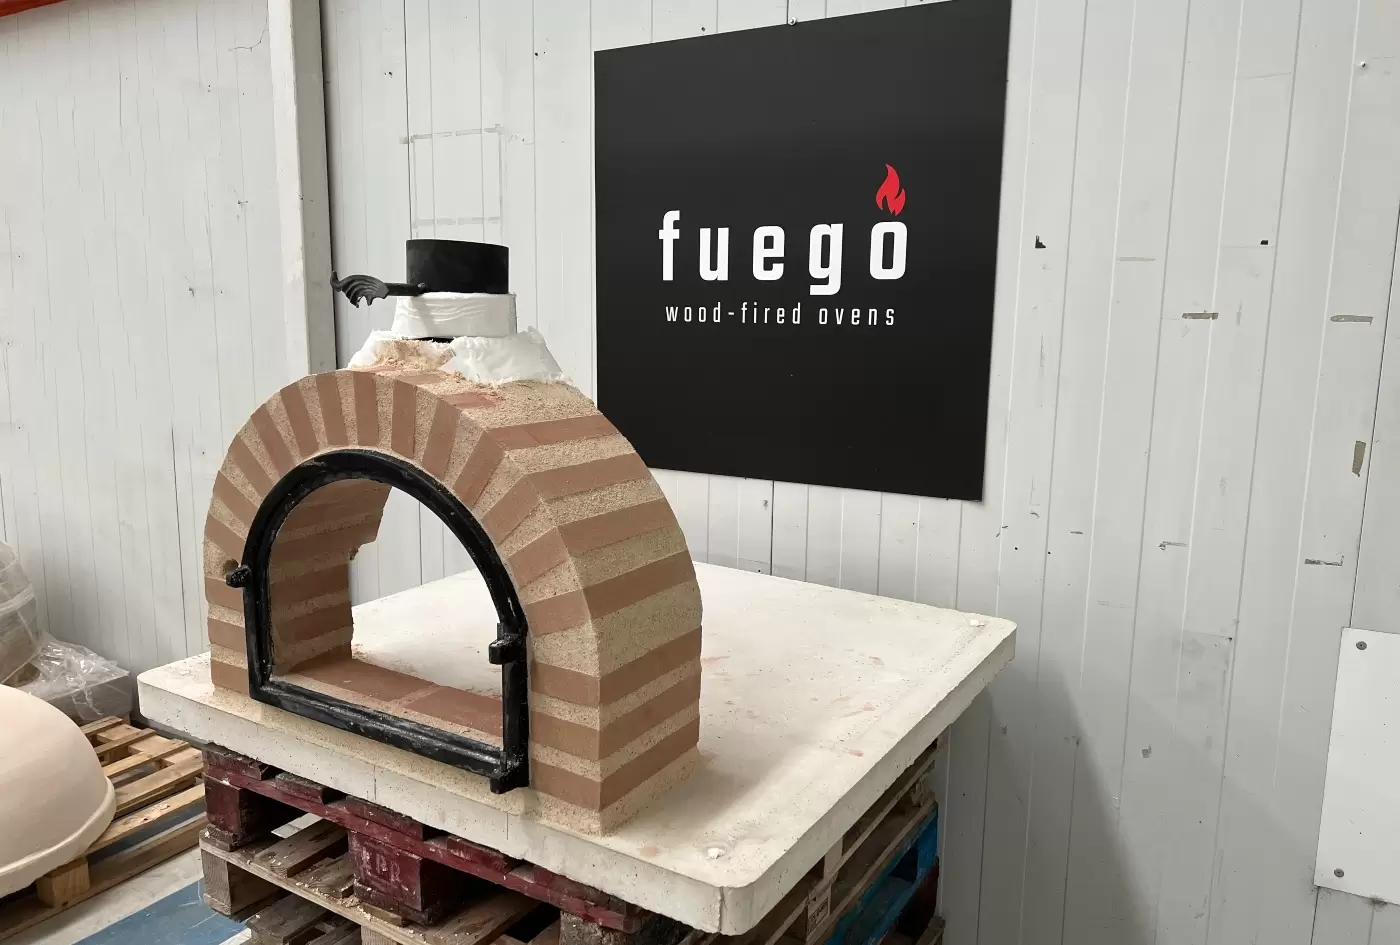
We start by building the refractory brick archway on the base of the oven and fit the internal flue (130mm) which is wrapped in insulating fibre.
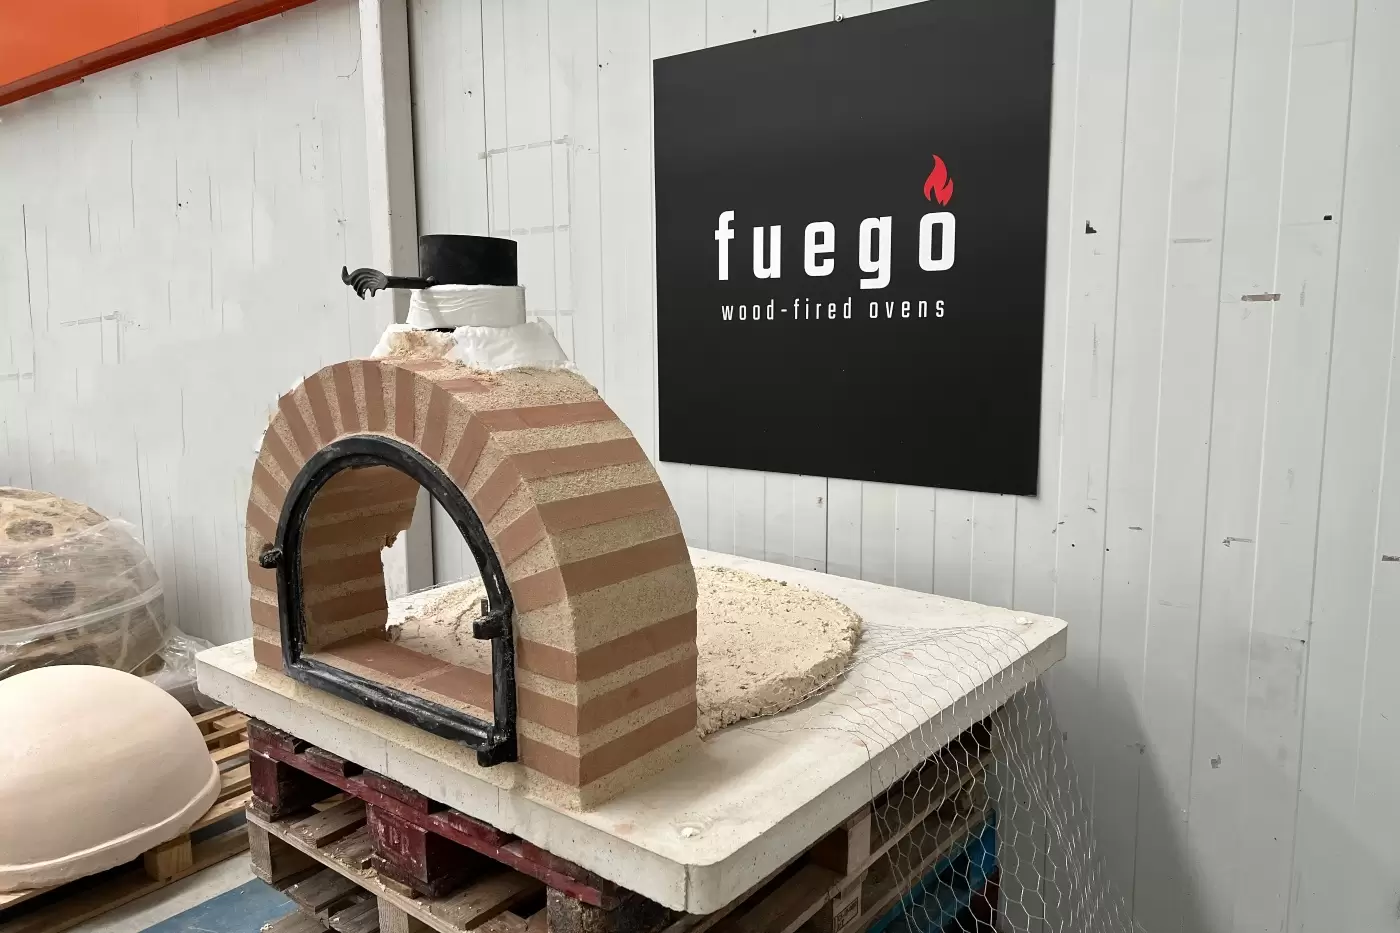
We spread one layer of our refractory white fire clay over the base of the oven, where the oven dome is going to sit.
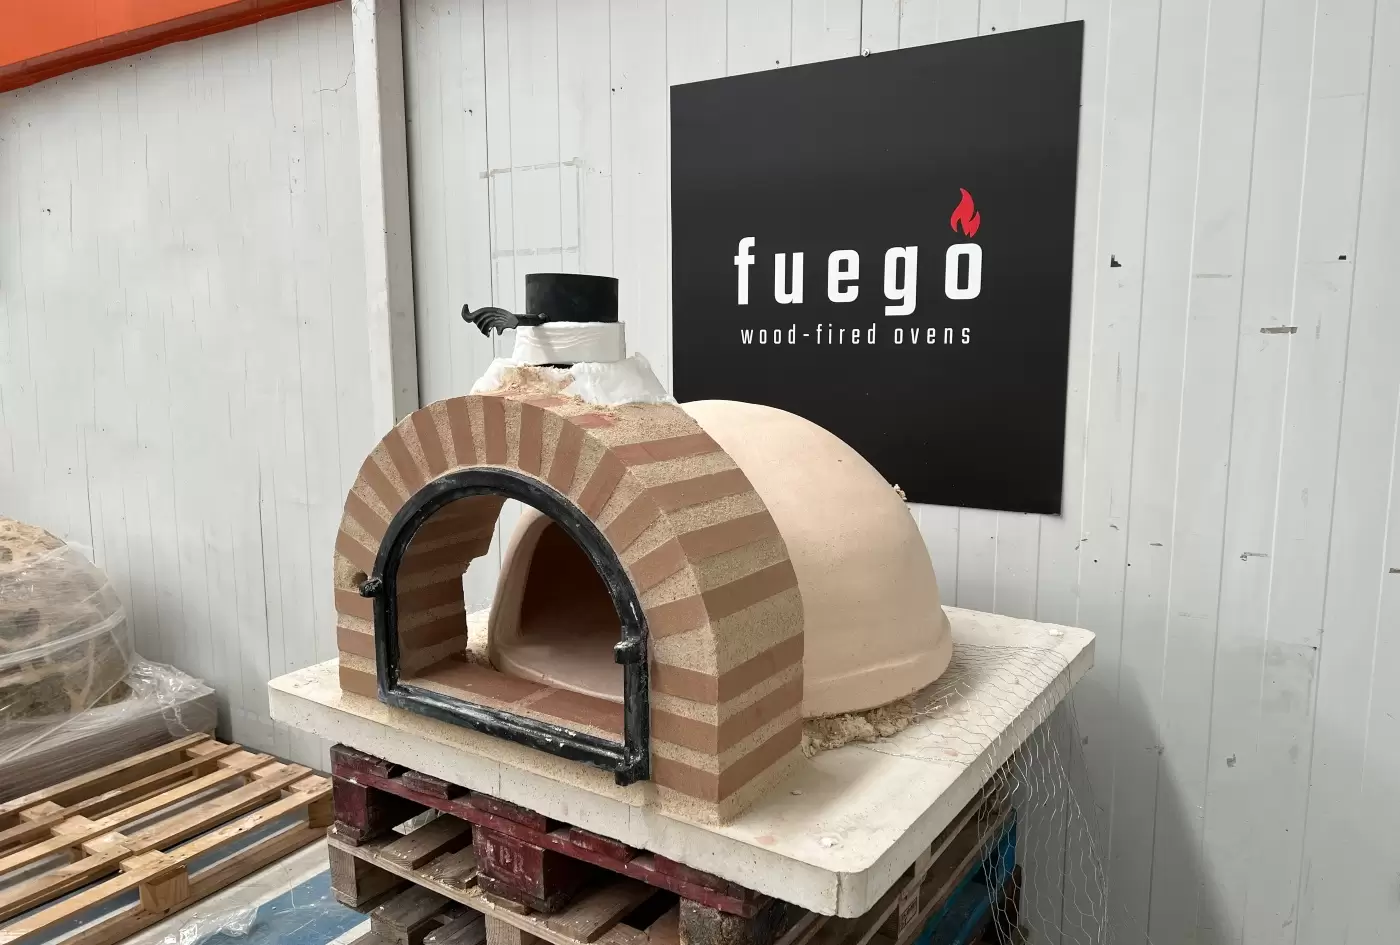
We place the oven dome over the bed of white fire clay and level it. All our oven domes are made from 80% white fire clay and 20% red fire clay mix, natural dried for 6 to 8 weeks, before baking in a kiln from 0°C to 1200°C for 36 hours.
We spread one layer of refractory white fire clay with a higher percentage of humidity all over the oven dome to ensure its adhesion. We then spread two layers of refractory white fire clay with a lower percentage of humidity and with a touch of red water (red clay mixed with water).
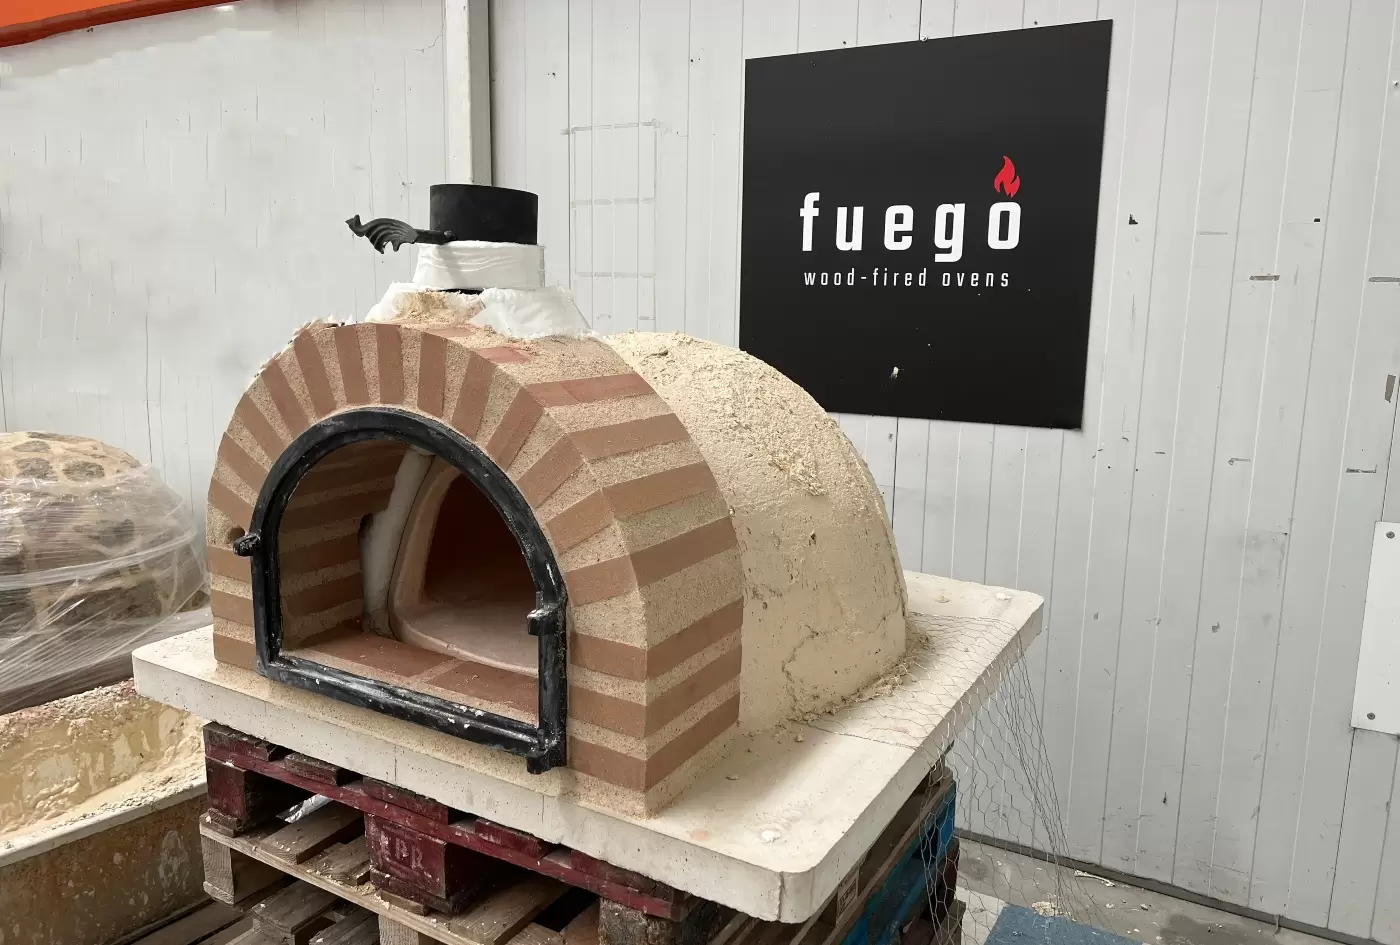
We fit our 13mm thick SUPERWOOL® PLUS™ insulating fibre blanket which is made from 100% natural components and bio soluble (2 layers on our standard insulation ovens and 3 layers on our premium insulation models).
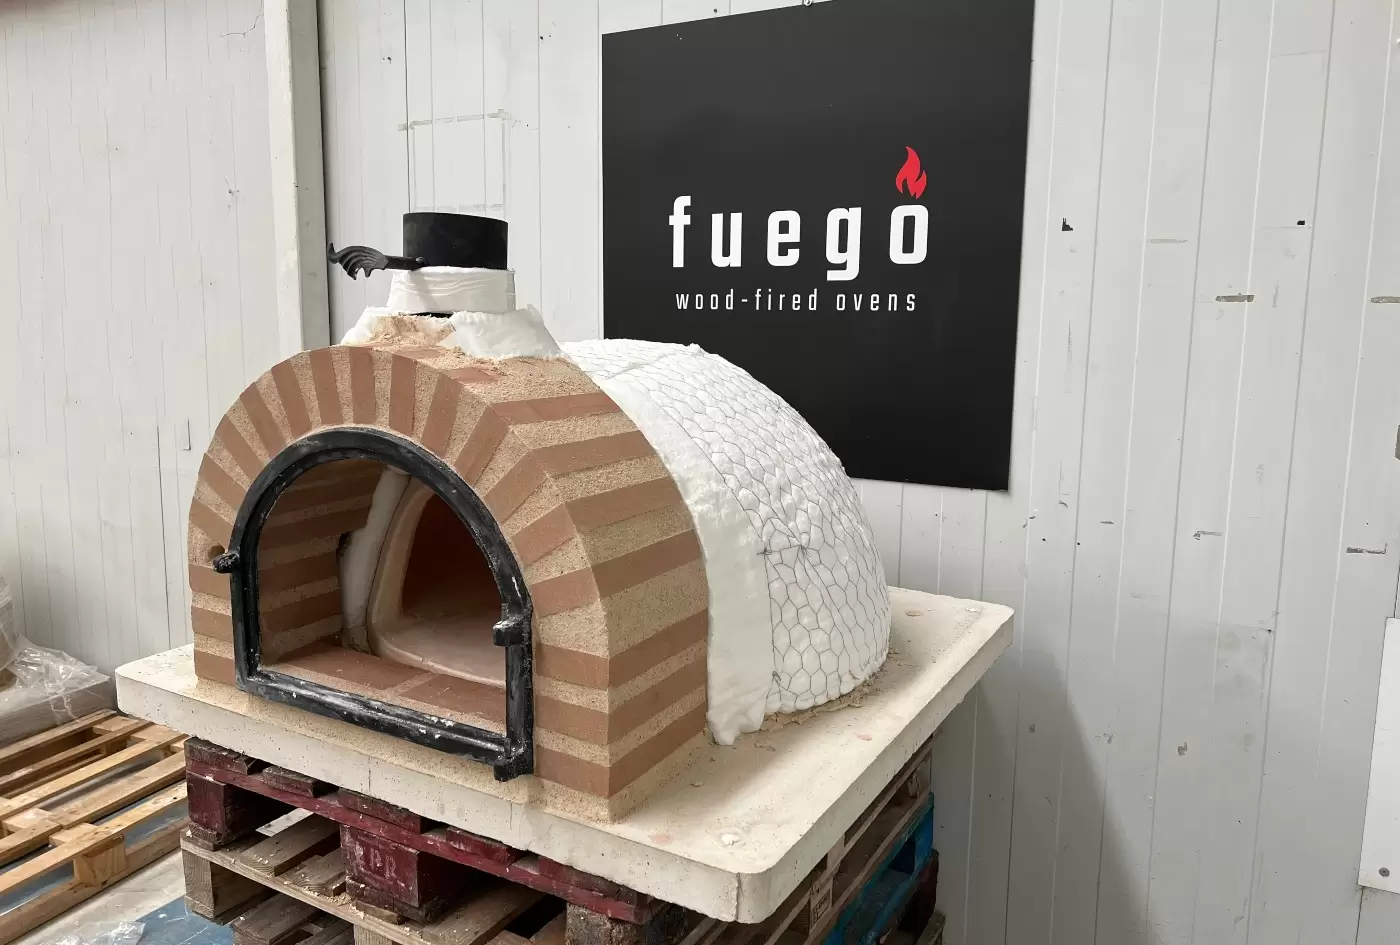
We spread refractory mortar mixed with expanded clay aggregate (1 layer on our standard insulations ovens and 2 layers on our premium models). The application of the first or second layer of refractory mortar is always mixed with a waterproof sealant to ensure it does not absorb any excess humidity.
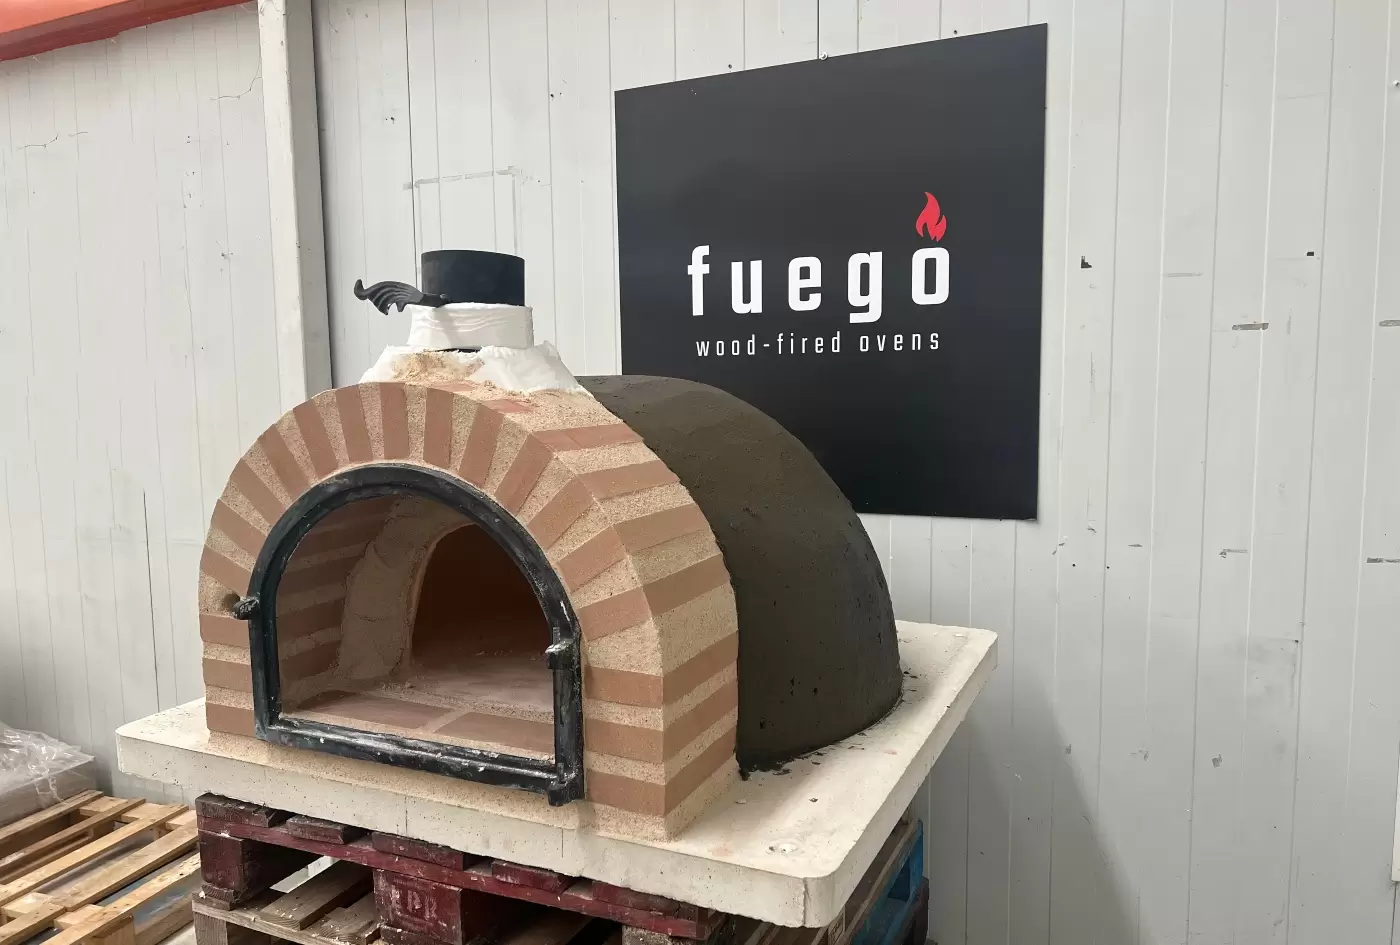
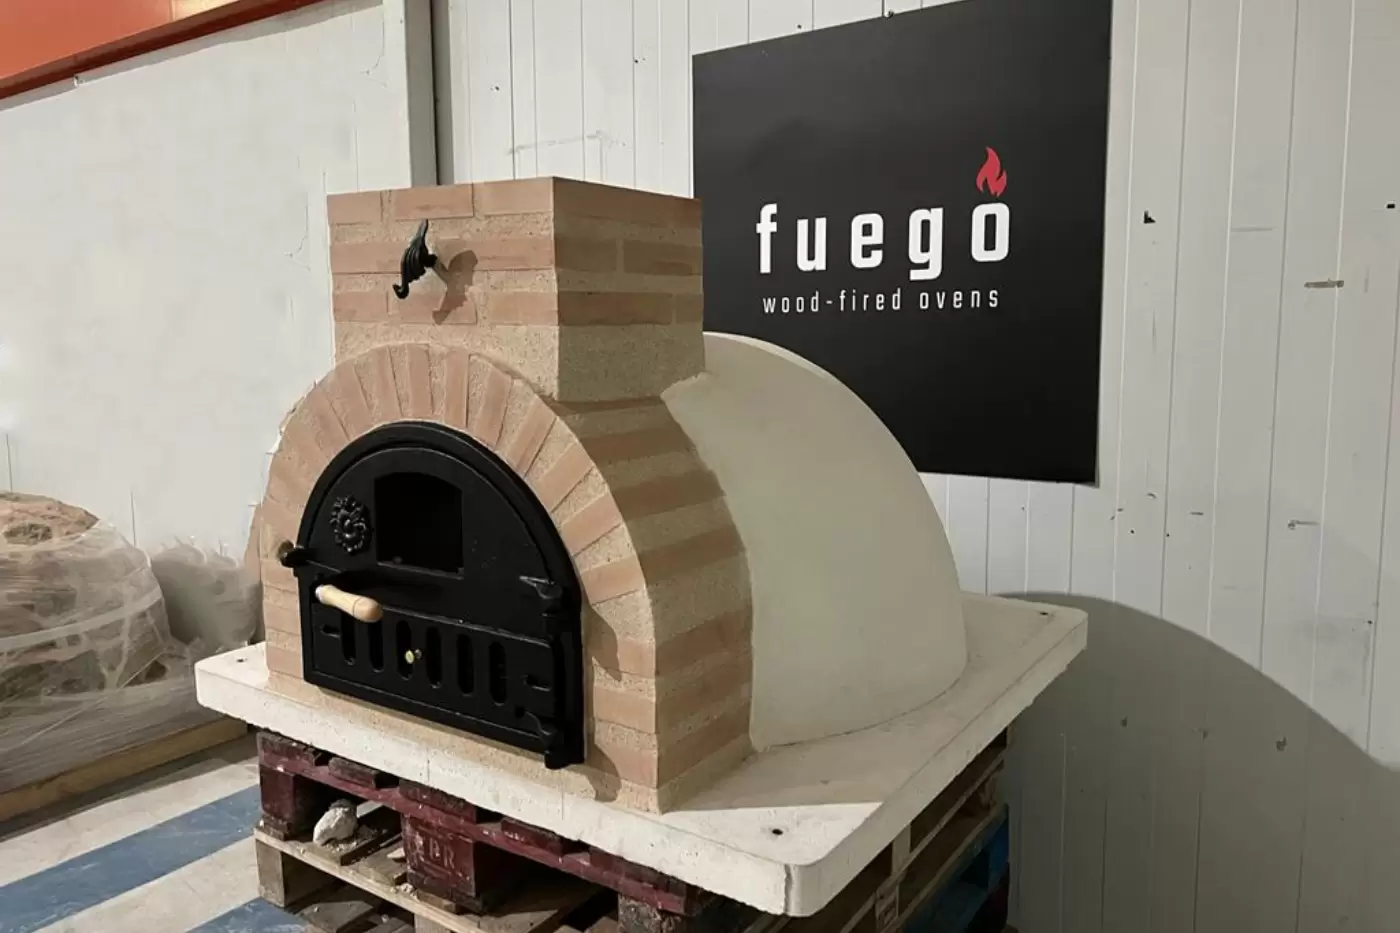
We fit your chosen oven finish (clasico, stone, brick or mosaic). The external flue tube (150mm) is fitted by sliding it over the internal flue (130mm) before the chimney breast is closed with refractory brickwork.
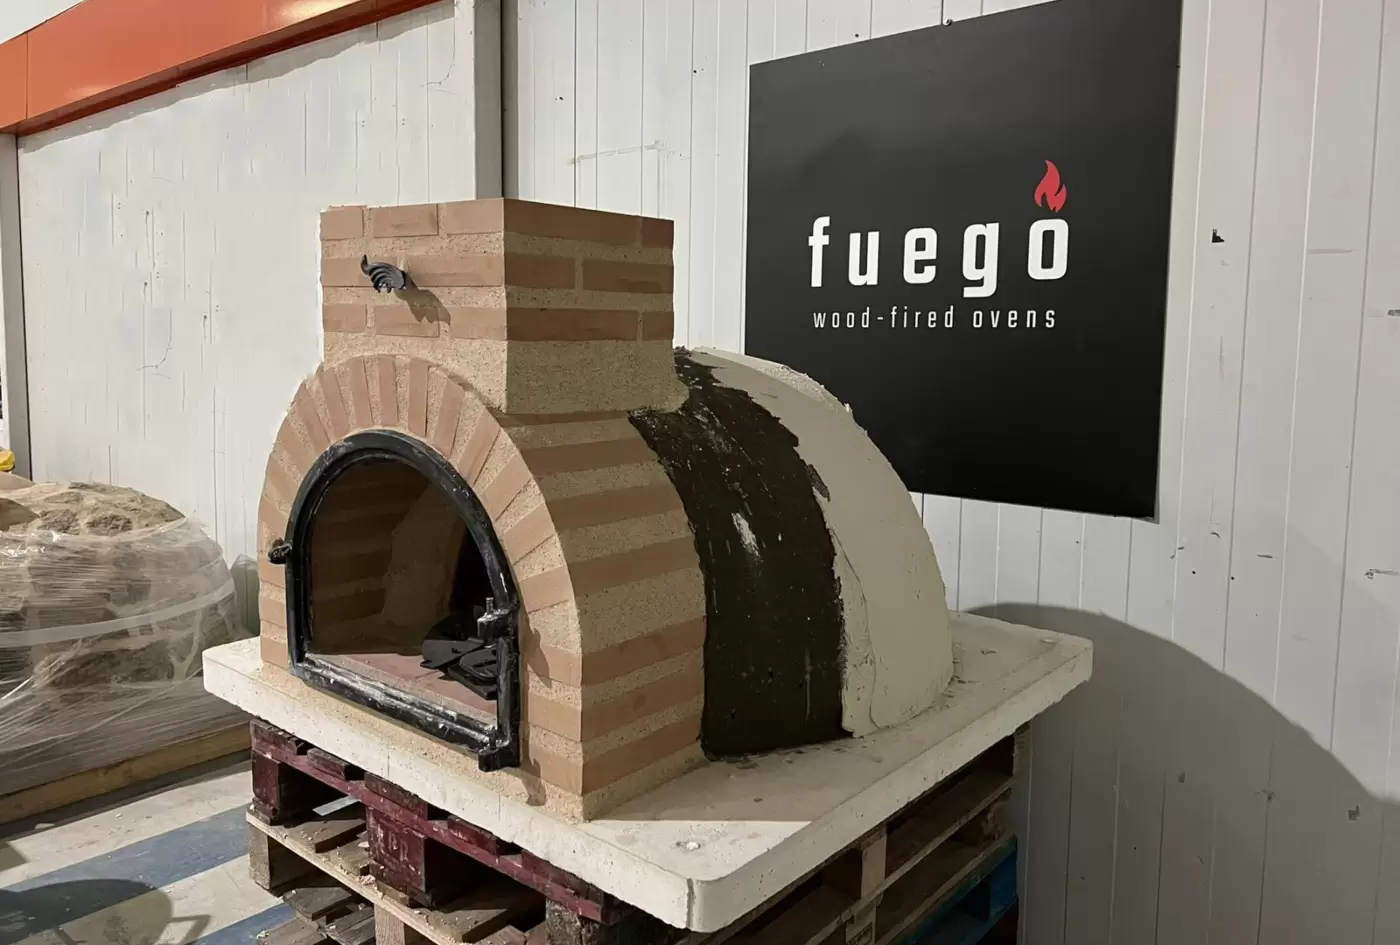
Once dried, all clasico and brick ovens are double coated with a clear waterproof sealant.
IMPORTANT ADVICE
Please note that the bricks used on our exterior brick oven range go through a double kiln baking process before getting individually coated in waterproof sealant.
WARNING
Moisture is the worst enemy of a clay oven even though our ovens have been treated with a waterproof sealant. We recommend that once a year, you give the external dome of your oven a couple of coats of a clear waterproof sealant to prolong its waterproofing. Please note this only applies to our clasico and brick range of ovens.